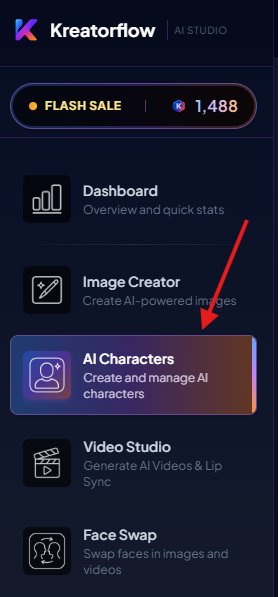
AI Characters
Learn how to create consistent AI characters for your content with our step-by-step guide.
Image Quality Guidelines
Before creating your character, use a good example image for the best results:
1Create Your Character
Generate an image of your model that you will use on KreatorFlow to create your character (unless you're uploading your own image).
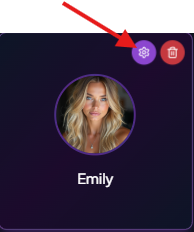
2Convert It Into a Character
Click on the image you want to convert to a character and then press the 'Convert to Character' button.
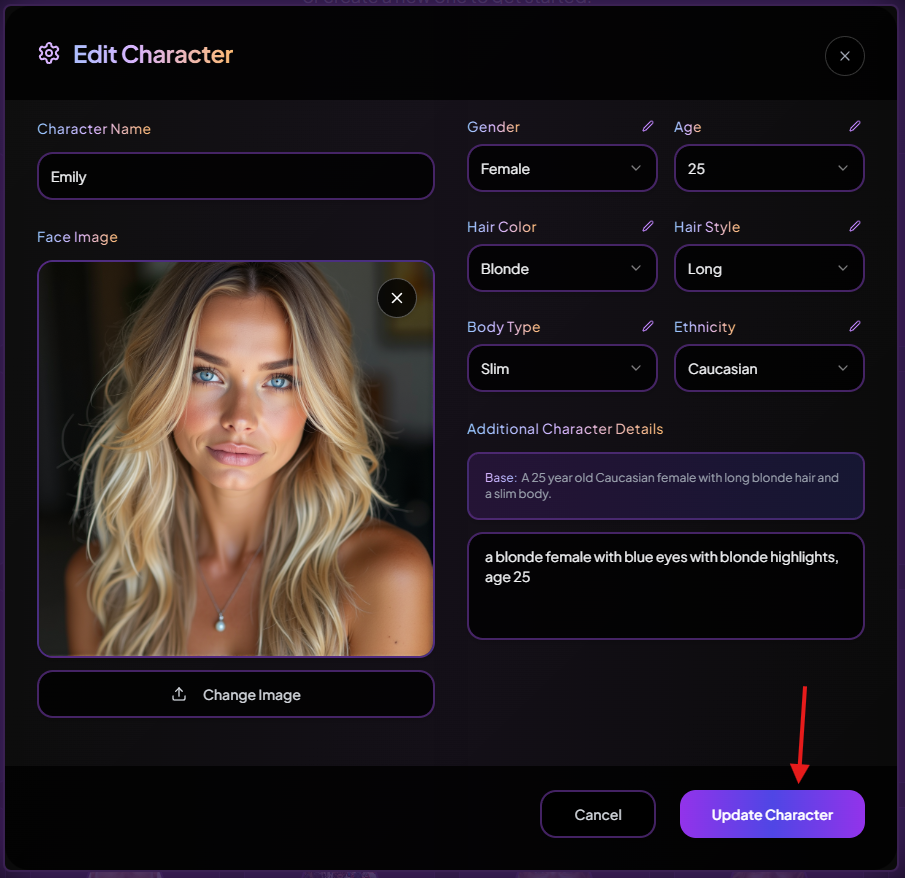
Make sure to fill out all the boxes accurately, and ensure that your additional character details are filled in so you can get the exact things you need to keep your character consistent across your content. Then press 'Create Character' to save it.
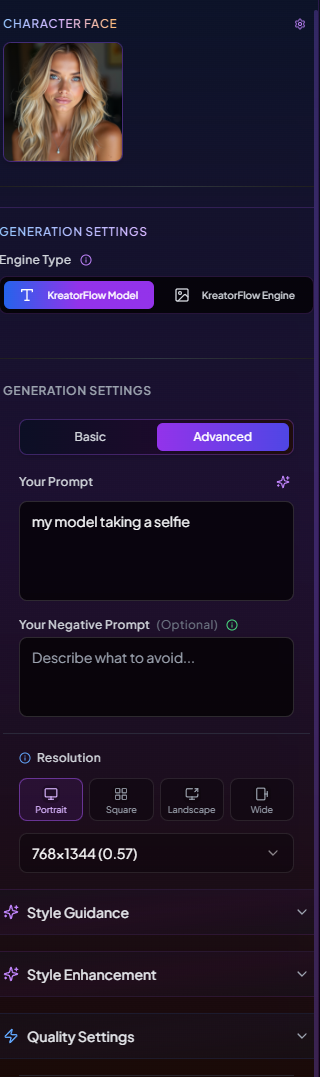
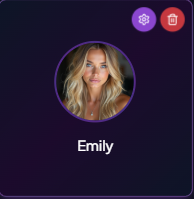
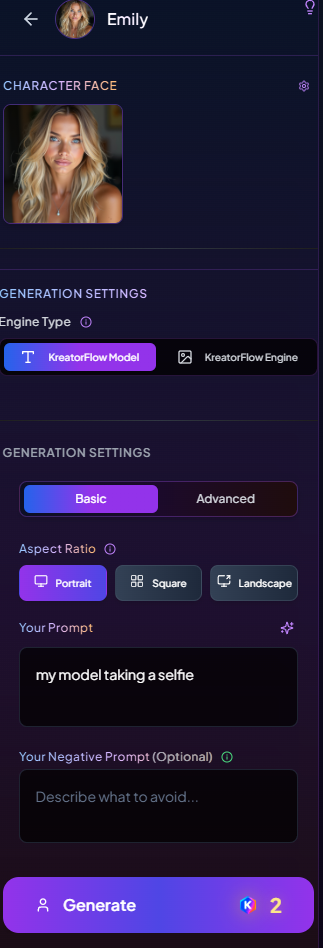
3Your Character Is Ready to Go!
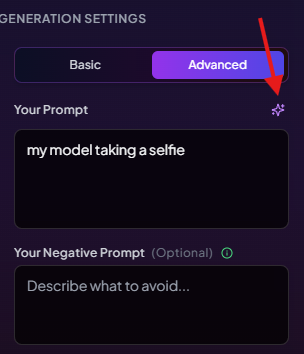
Now your character is saved and you can create consistent images with it. While you prompt, make sure to use 'my model' or 'the model' in your prompts to give it more context when creating an image.

Next Steps
Now that you have your character created, learn how to prompt it effectively and convert your images to videos.