Character-to-Video Guide
Animate your AI-generated characters into dynamic videos
Transform your AI-generated character images into stunning animated videos. This process is extremely similar to image-to-video, but you source images directly from your character gallery within KreatorFlow for seamless integration.
Character-to-Video Animation Demo
Open in DriveLoading video...
Watch how to convert your character images into dynamic videos with custom animation prompts.
Why Use Character-to-Video?
Seamless Integration
No need to download and re-upload images. Select directly from your character gallery for instant video conversion.
Character Consistency
Maintain perfect character consistency across your video content using the same character images you've already generated.
Integrated Workflow
Create character → Generate images → Animate to video → Add effects, all within the same platform without switching tools.
Character-to-Video Pricing
Character-to-video generations cost +2 extra credits compared to standard text-to-video or image-to-video generations.
Lite 720p 5s
12 credits
Lite 1080p 5s
22 credits
Pro 720p 5s
17 credits
Pro 1080p 5s
27 credits
Step-by-Step Character Animation
Select Source Image from Character Gallery
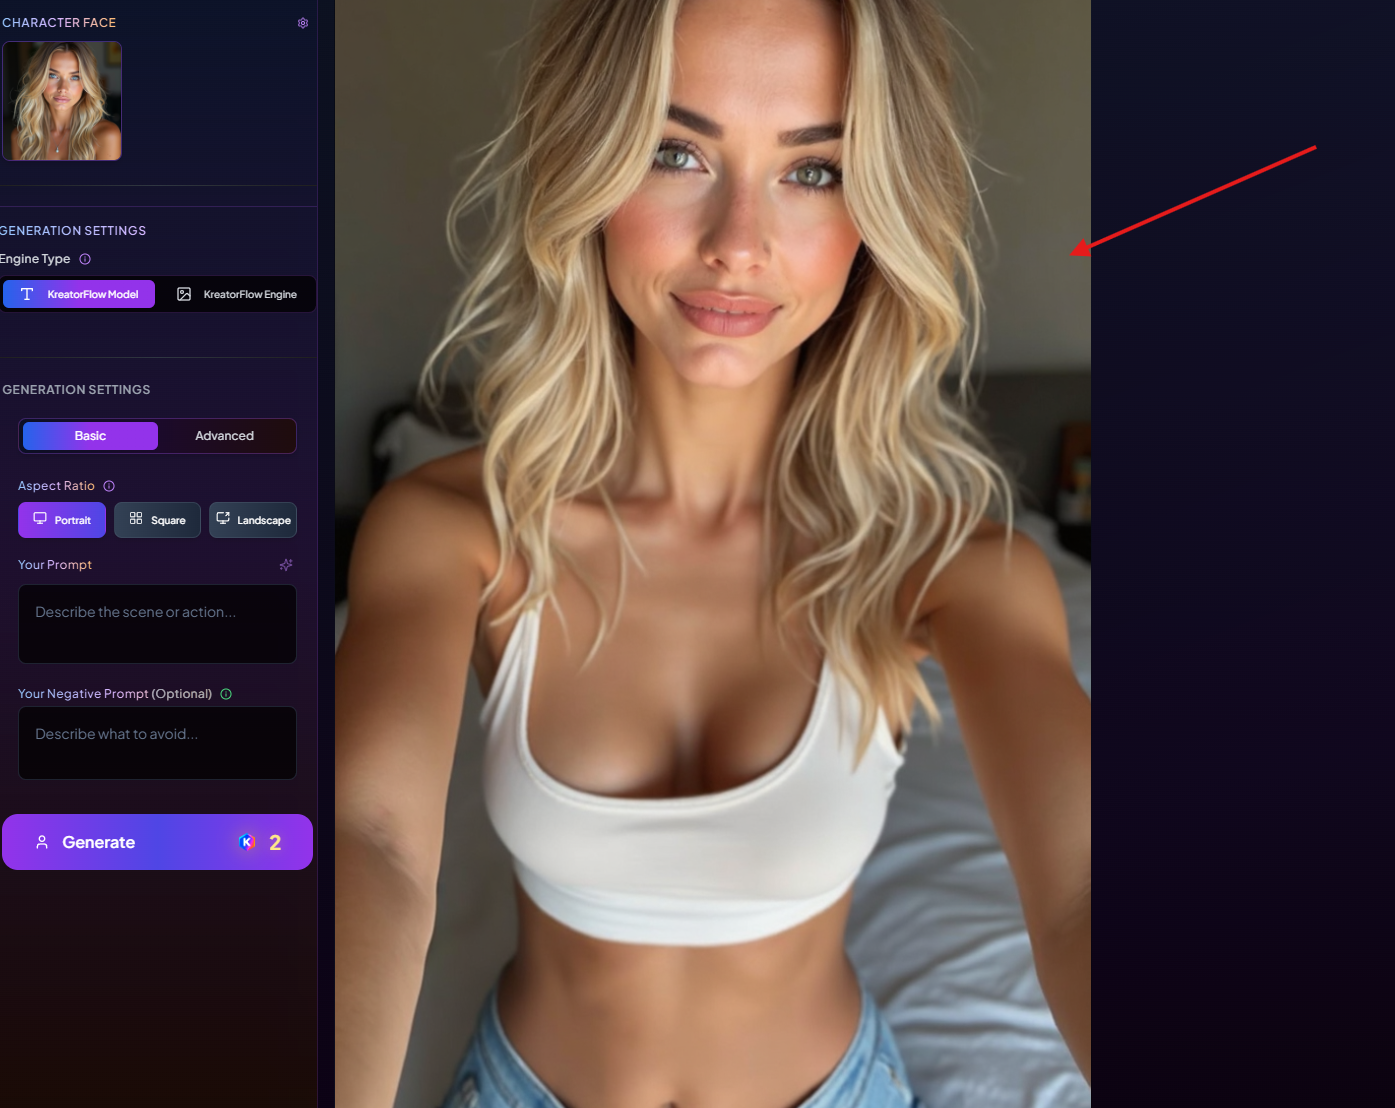
Click Source and select the character image you want to animate from yourcharacter image gallery. This integrates seamlessly with your existing character workflow.
Best Results Tips:
- • Choose high-quality character images
- • Front-facing poses work best for animation
- • Clear, well-lit images produce better motion
- • Avoid heavily cropped or partially obscured characters
Alternative: Direct Selection Method
Alternatively, you can select character images directly from your character page, then choose the specific image from your character gallery that you want to animate.
Add Animation Prompt (Optional)
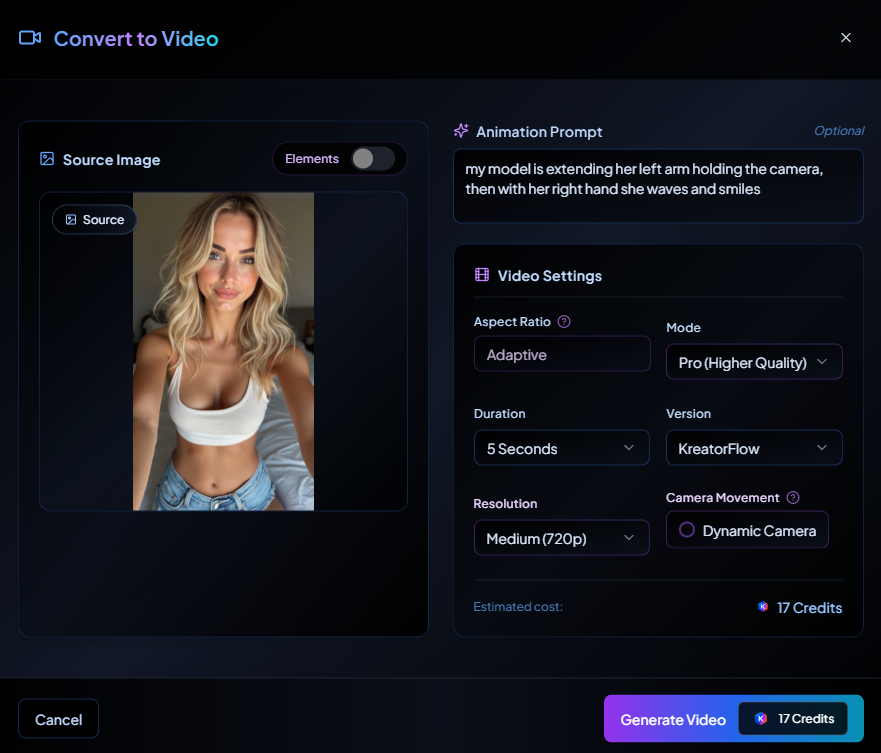
Enter a description of the movement you want your character to perform. You can also leave this blank if you want the system to auto-animate based on the character pose.
✅ Good Character Prompts:
"My model is extending her left arm holding the camera, then waves and smiles"
"The character slowly turns head to look at camera and nods"
"Model takes a step forward with confident expression"
💡 Pro Tips:
• Use "my model" or "the character" for best results
• Keep movements simple and realistic for 5-10s clips
• Include camera direction like "looks at camera"
• Describe facial expressions for more engaging videos
Configure Video Settings
In the Video Settings panel, adjust all the video generation options to match your needs and budget.
Aspect Ratio
- • Square (Instagram)
- • Portrait (TikTok/Shorts)
- • Landscape (YouTube)
- • Adaptive
Mode
- • Lite (faster, cheaper)
- • Pro (higher quality)
Duration
- • 5 seconds
- • 10 seconds
Camera
- • Dynamic (movement)
- • Fixed (static)
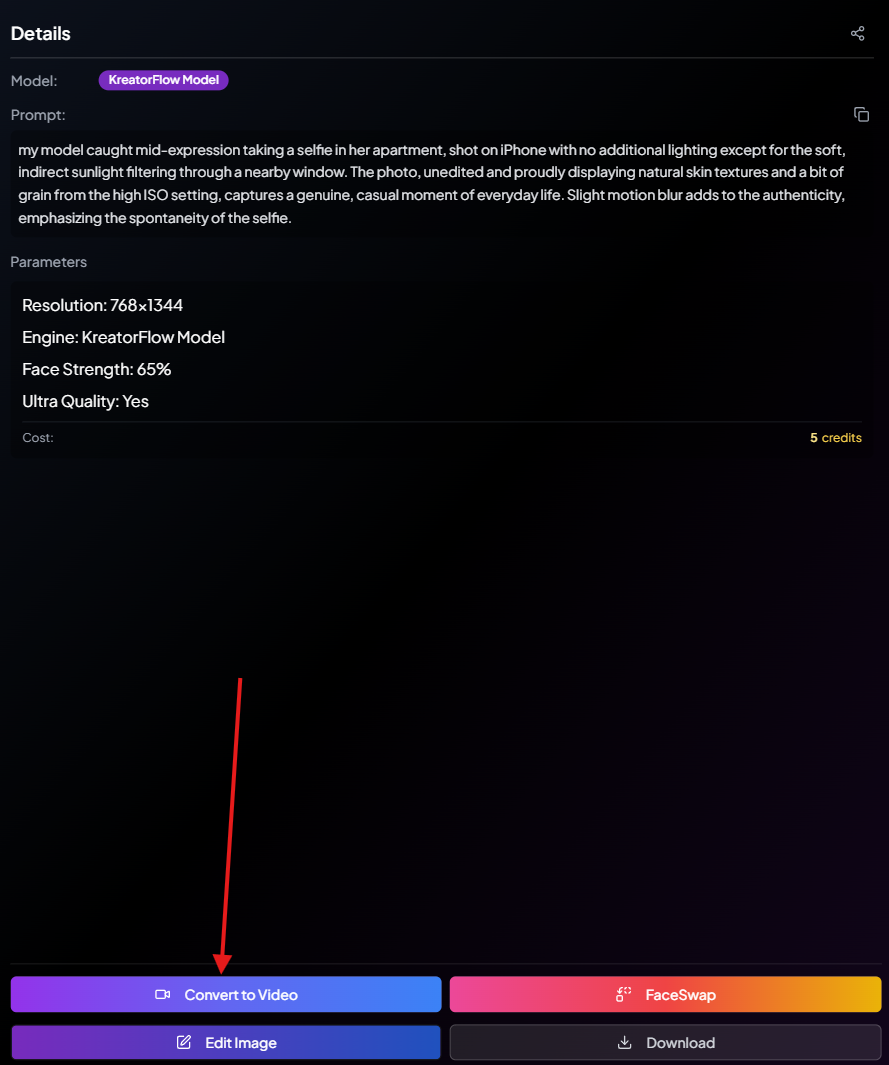
Review Credit Cost & Generate
The system will display the estimated credit cost at the bottom based on your selected settings. Remember that character videos cost +2 credits compared to regular image-to-video.
Example Credit Calculation:
A 5-second Pro 720p character video costs 17 credits(15 base credits + 2 character bonus = 17 total)
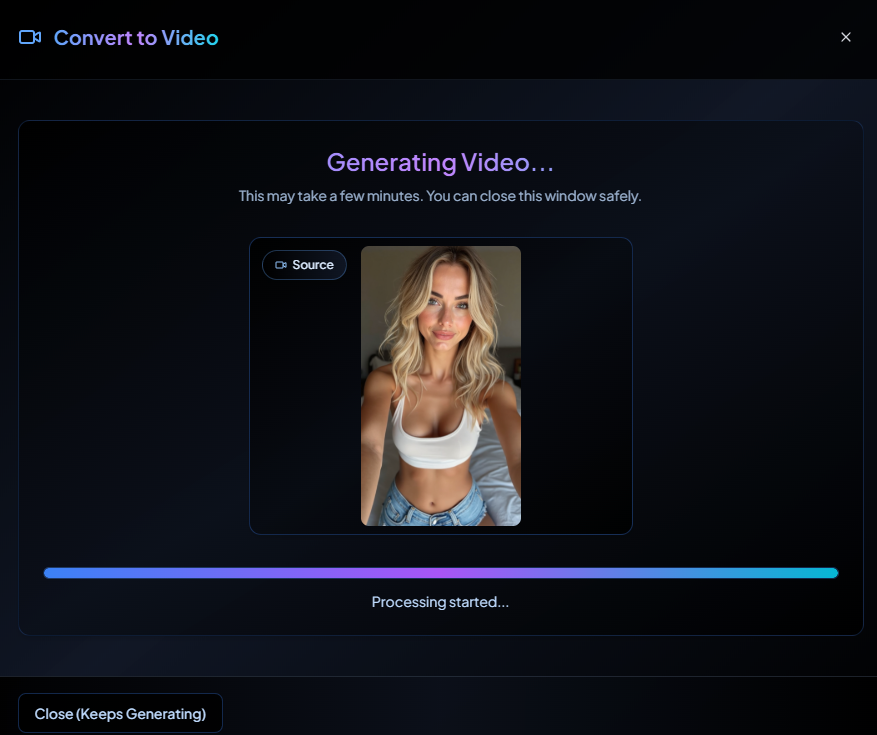
Generation Process
Click Generate Video and wait for processing (usually under a minute). You can close the dialog and work on other things while it generates.
Access Your Character Videos
All videos you generate with your characters will be located in the videos section. This keeps your character video content organized and easily accessible.
Continue Development or Download

Once your character video is ready, you have several options to enhance or use your content:
Download
Save the video if you're satisfied with the result
Add Lip Sync
Add realistic speech synchronization to the video
Face Swap
Apply face swap effects for additional creative options
Character Animation Best Practices
Optimization Tips
Start with Lite Mode:
Test your character animations with 5s Lite mode to perfect your prompts before investing in Pro quality.
Choose Quality Source Images:
Use your best character images with clear poses and good lighting for optimal animation results.
Keep Movements Simple:
Focus on one main action per video - wave, nod, walk, turn - rather than complex sequences.
Common Mistakes
Using Low-Quality Source Images:
Blurry, dark, or heavily cropped character images will produce poor animation quality.
Overcomplicating Prompts:
Requesting multiple actions like "wave, dance, and jump" in a 5-second clip leads to messy results.
Ignoring Aspect Ratio:
Not considering your target platform when choosing aspect ratio (TikTok vs YouTube vs Instagram).
💡 Character-Specific Tips:
- • Maintain character consistency: Use the same character across multiple videos for storytelling
- • Plan your character poses: Generate character images with animation in mind
- • Build a character library: Create multiple expressions/poses of the same character
- • Consider character personality: Match animation style to the character's intended personality
- • Batch similar content: Create multiple videos of the same character with different actions
Integrate with Other KreatorFlow Features
Character Creation Workflow
Start by creating your characters with specific poses and expressions that will work well for video animation.
Learn Character Creation →Advanced Video Techniques
Combine character videos with multi-scene [cut] features and advanced camera controls for professional content.
Master Character Video Creation
Now that you understand character-to-video conversion, explore these related guides: