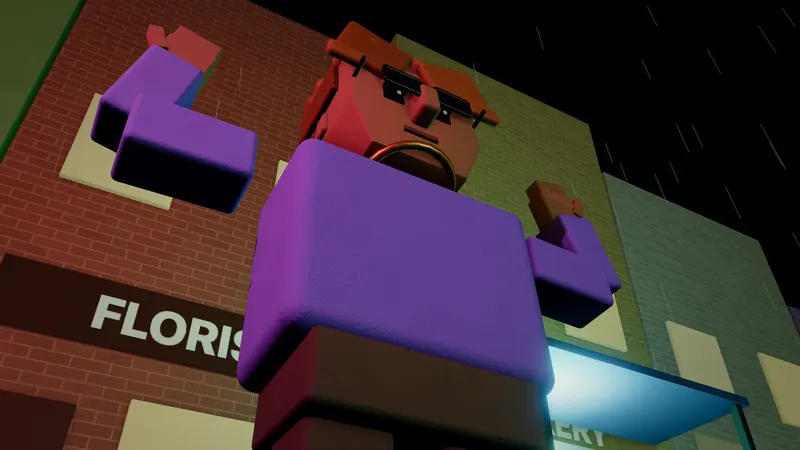
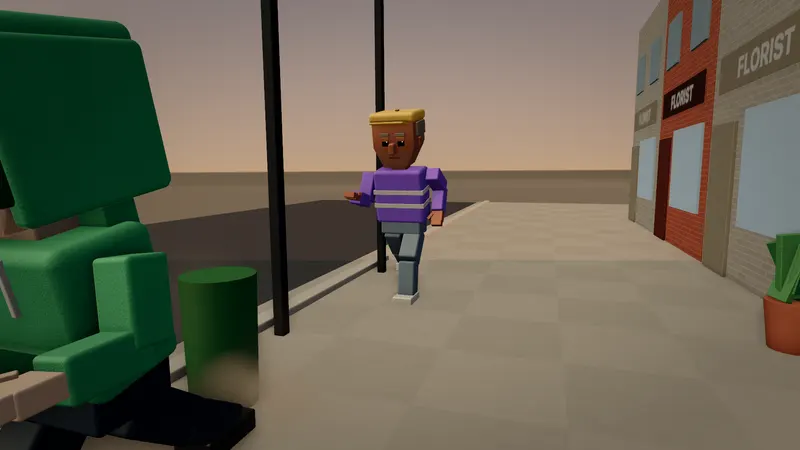
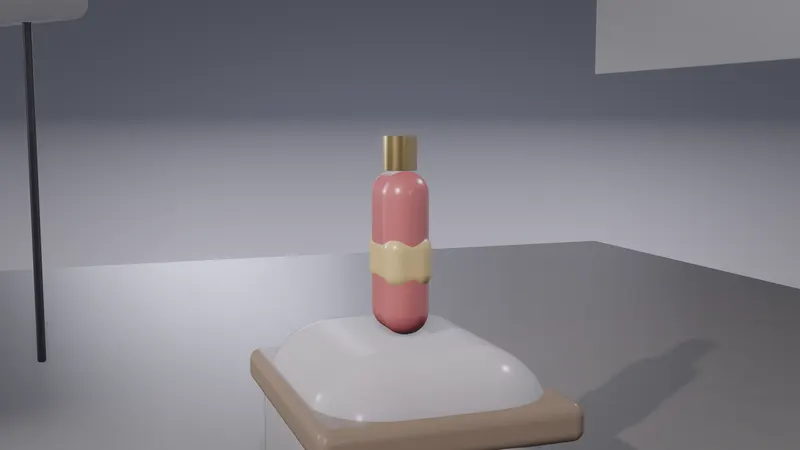
Get started
Make a 3D storyboard and animatic, step by step
- 1
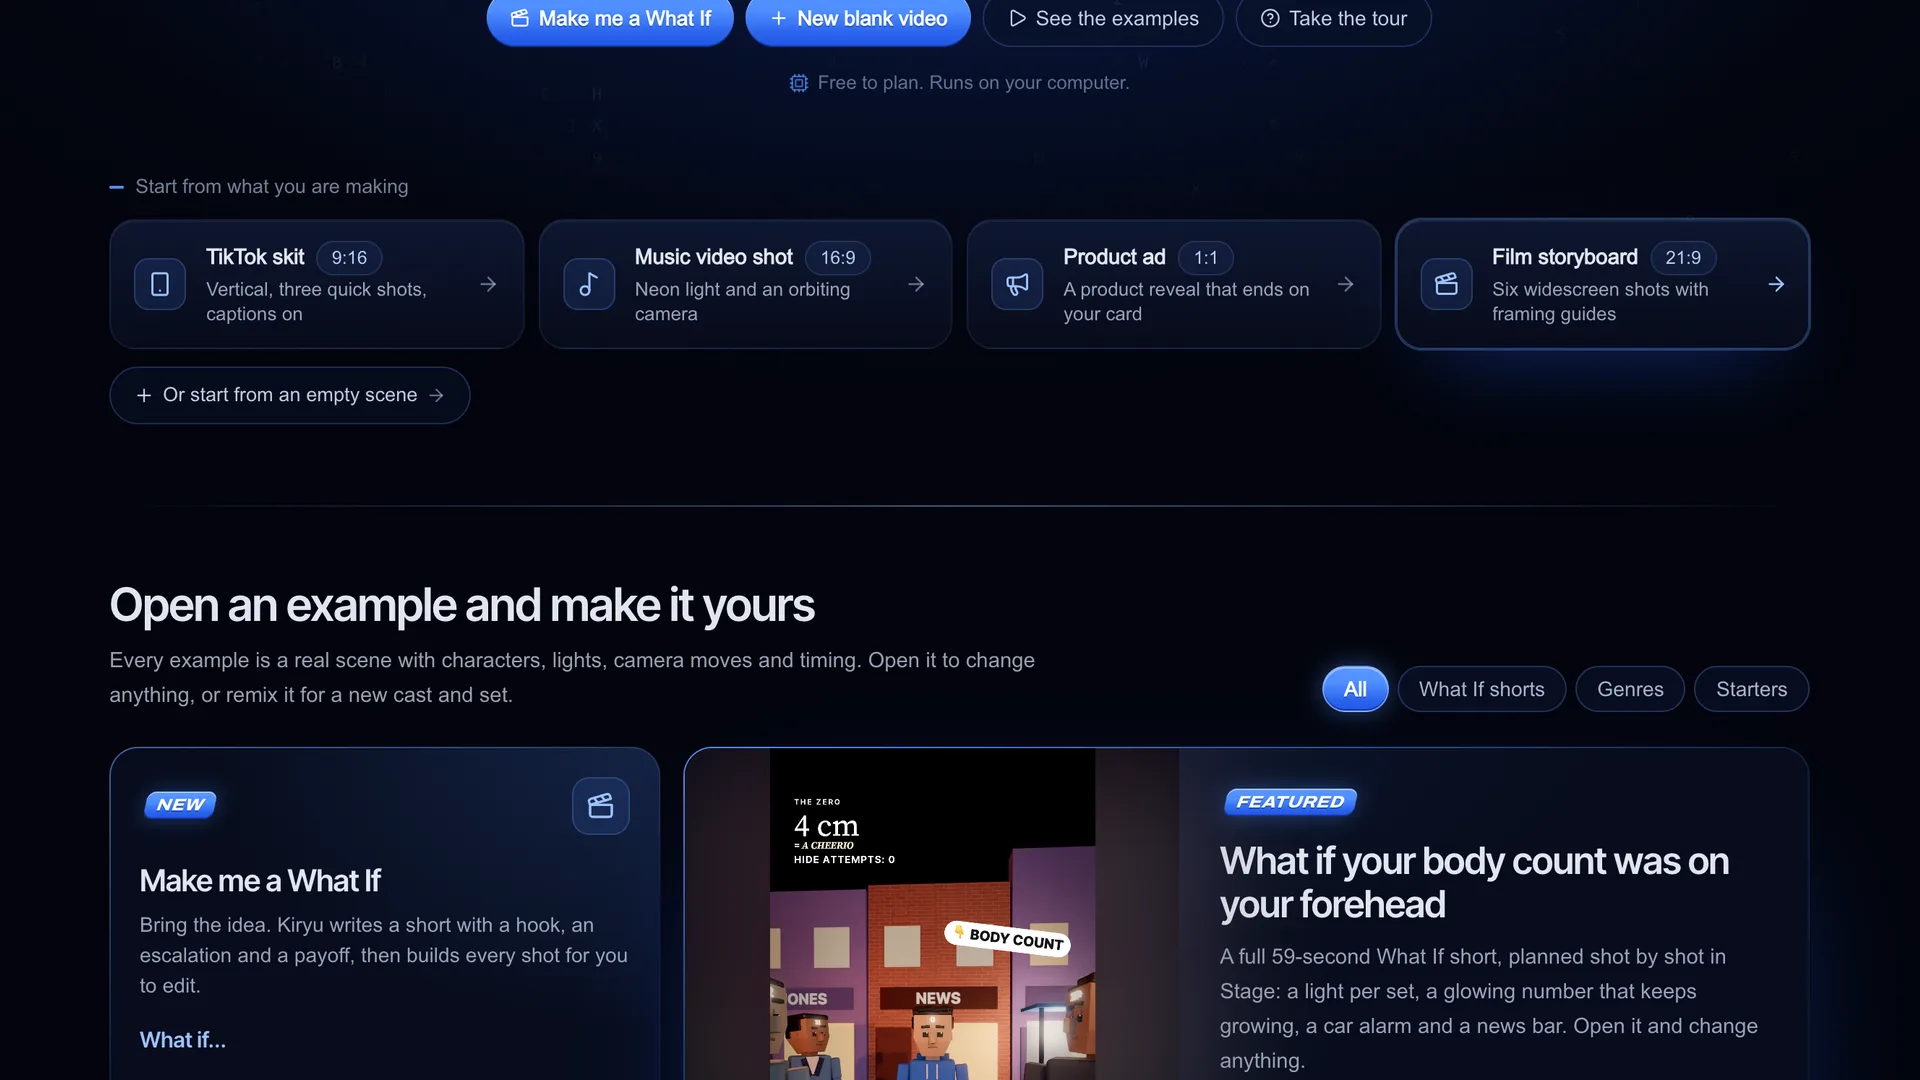
Open the Film storyboard starter
Go to Stage and, under "Start from what you are making", pick Film storyboard and press Start. It opens a real 6-shot scene in 21:9 with a detective, a suspect, an office set and noir light, so you edit instead of starting from nothing. Want something else? Pick another starter, open any example with "Open this", or choose "Or start from an empty scene". You can change the frame shape at any time from Frame shape in the top bar.
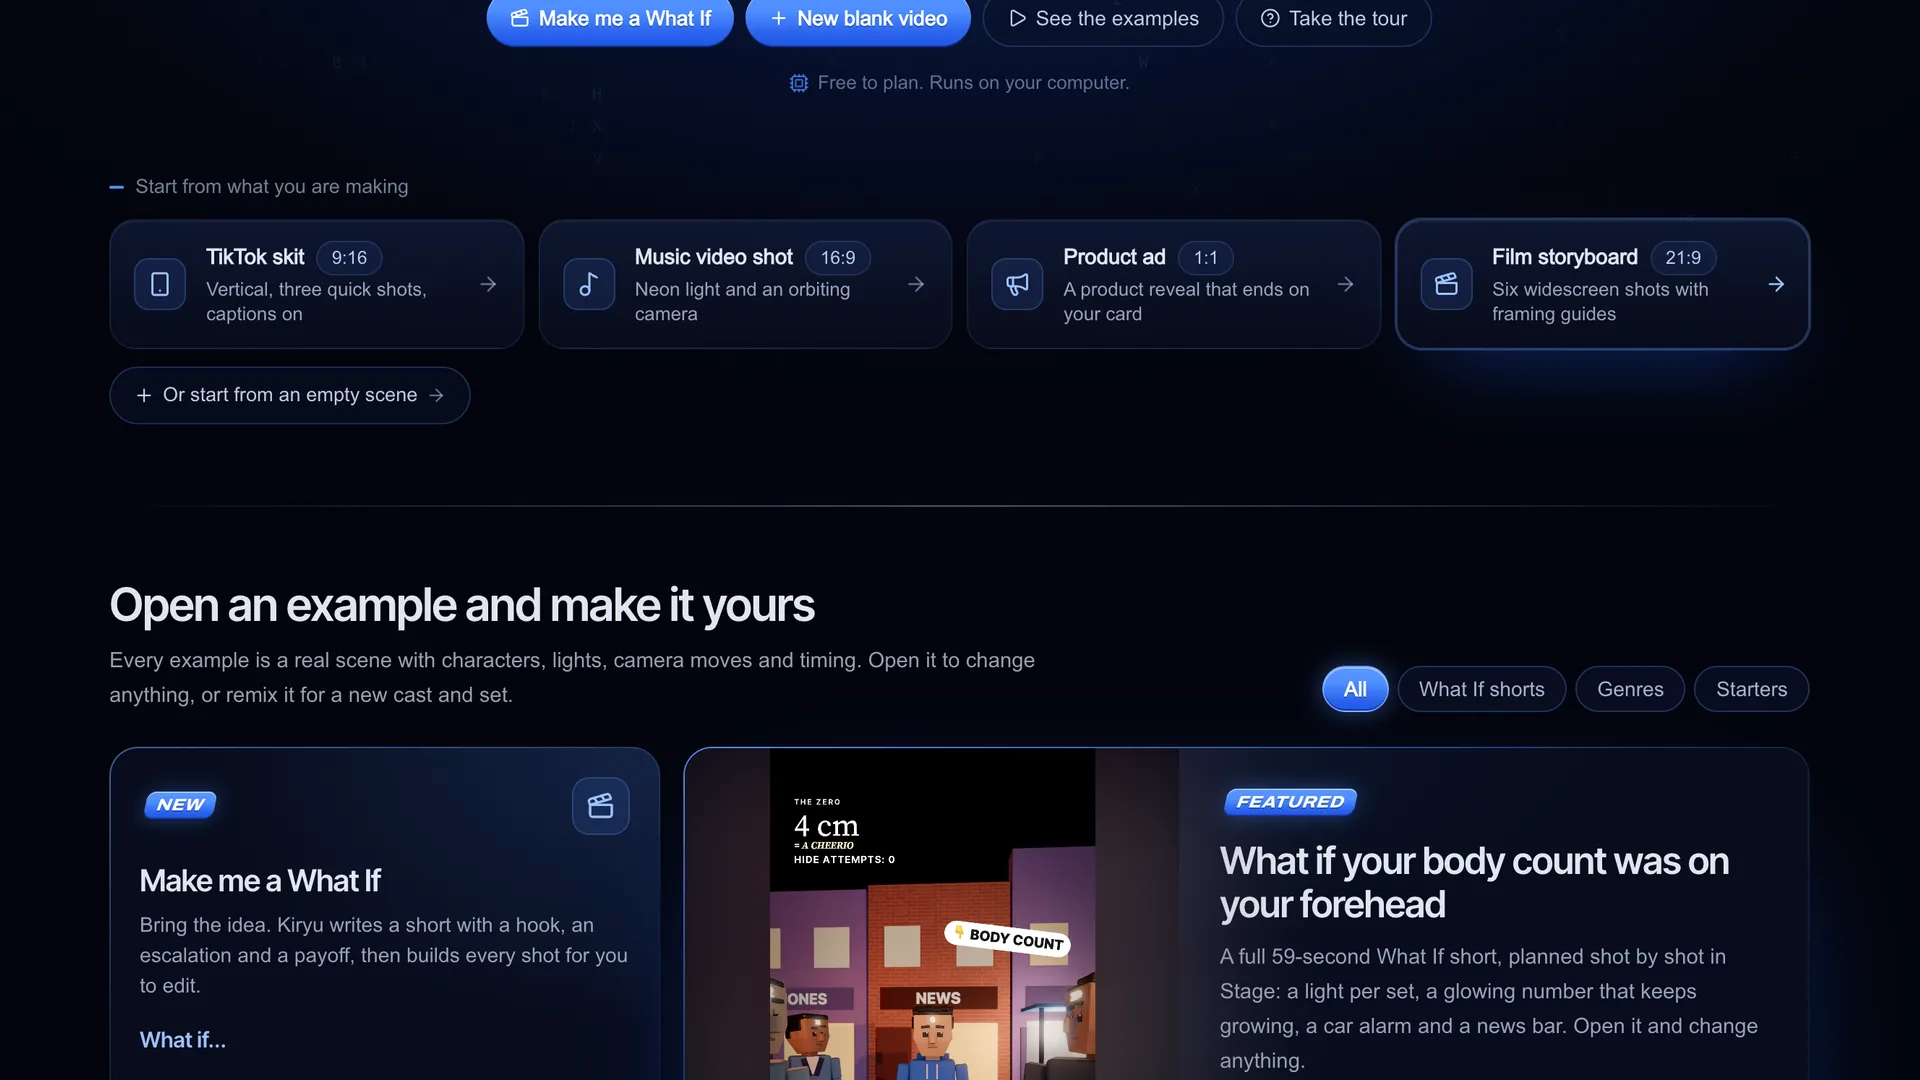
Screenshot of kreatorflow.ai, 2026-11-06 - 2
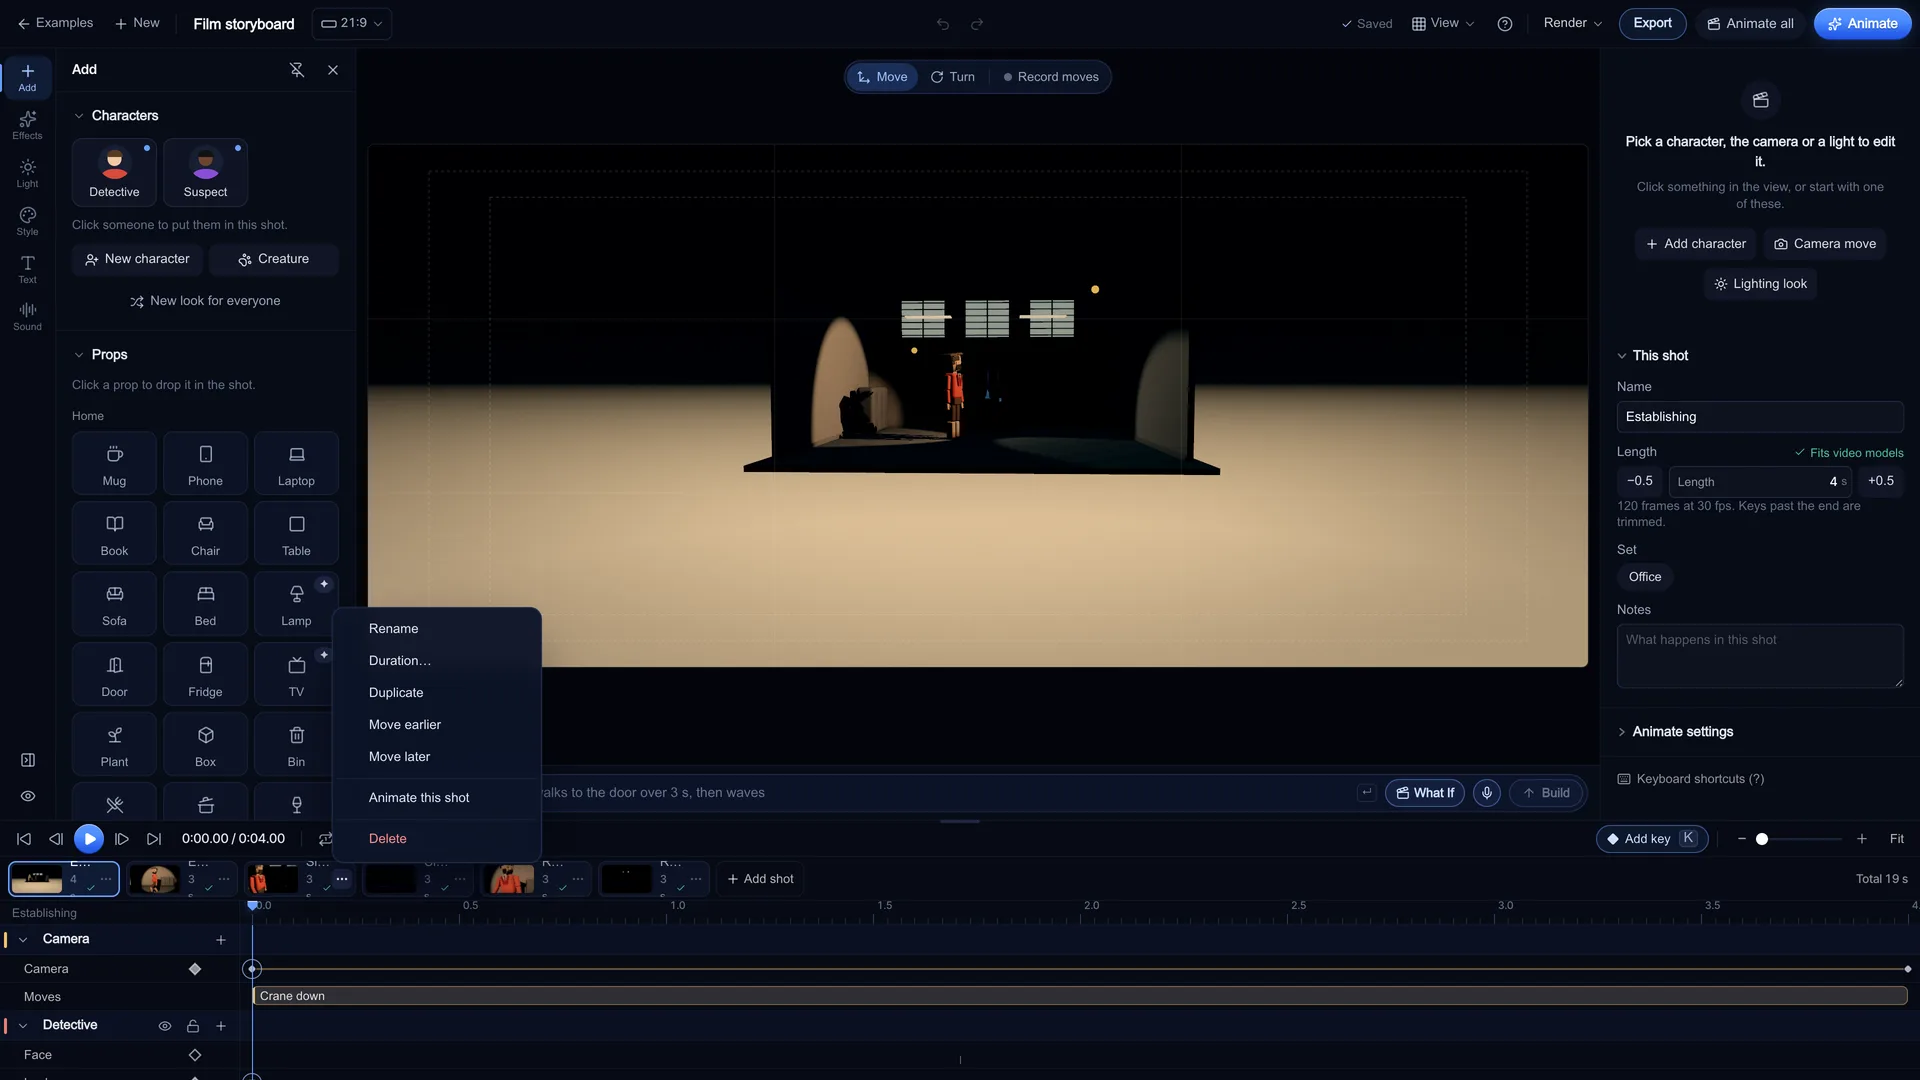
Add, duplicate and reorder shots
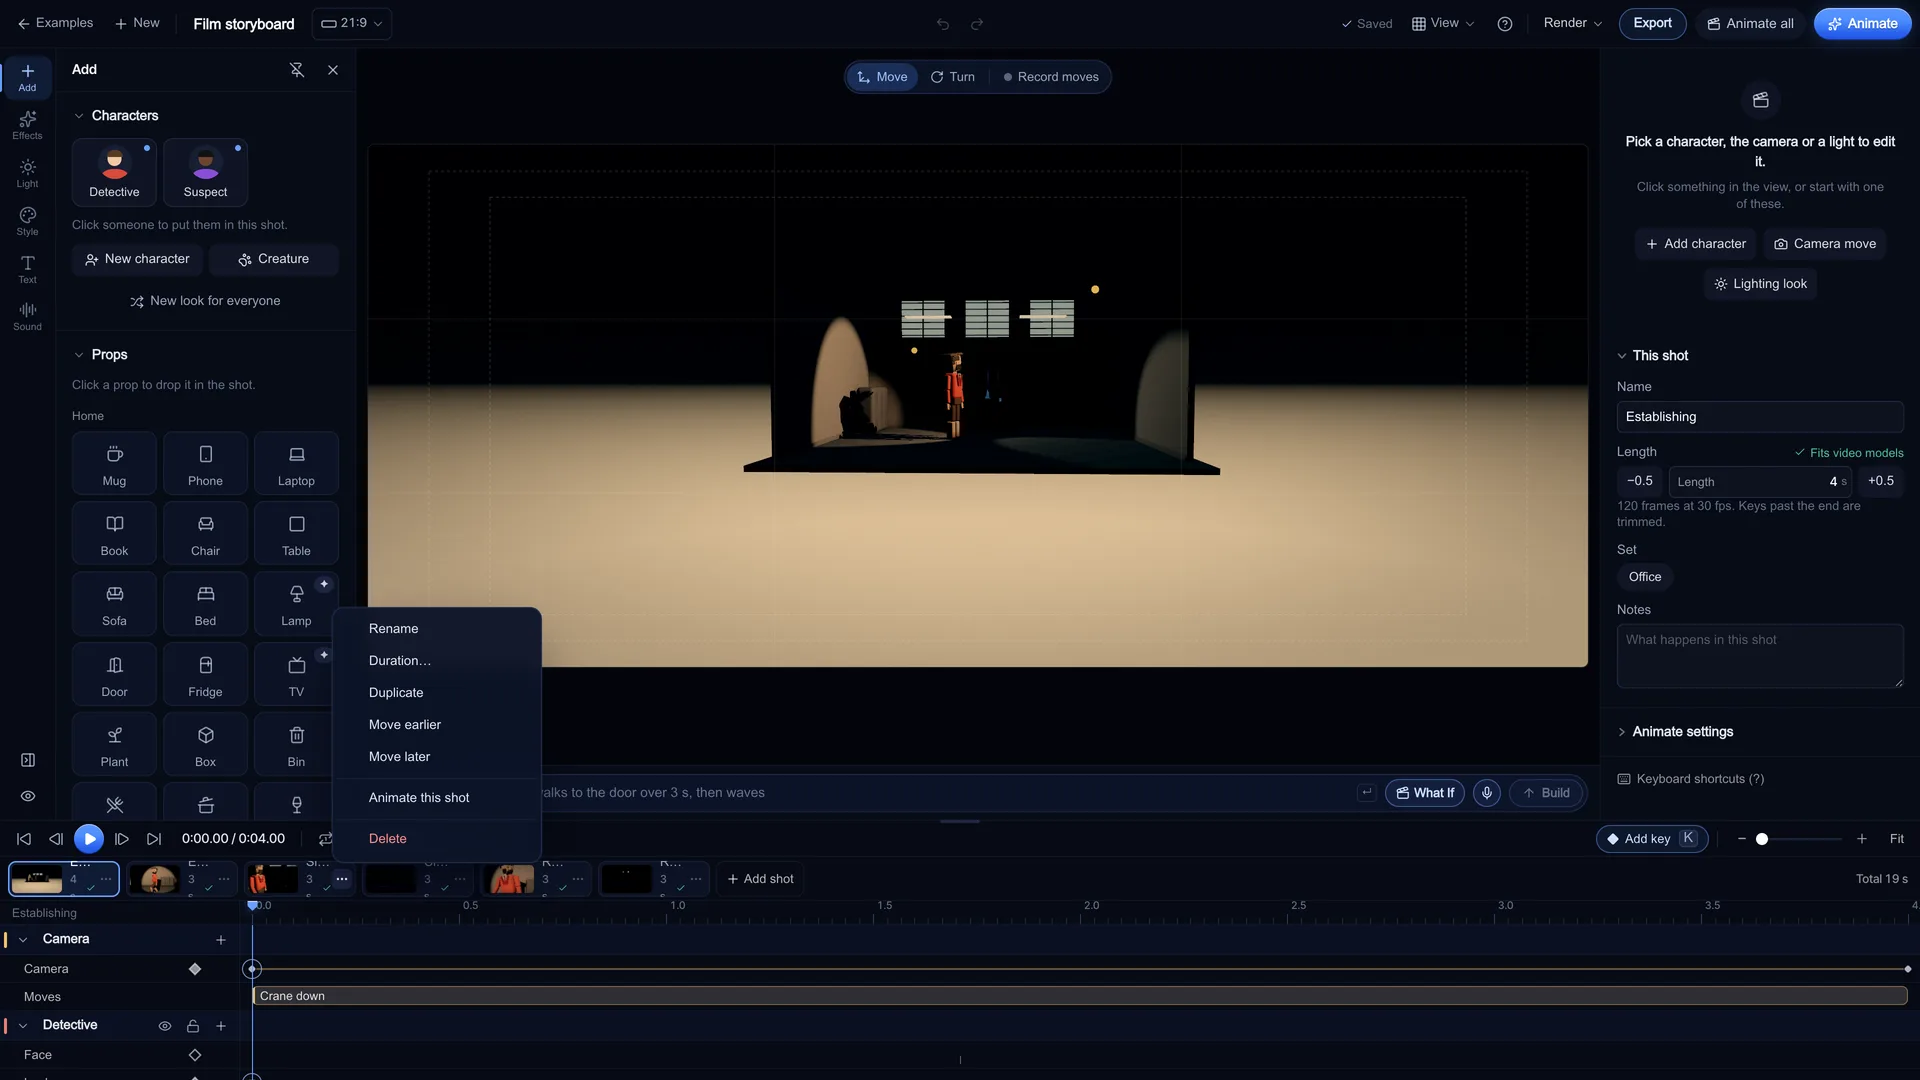
The Shots strip under the viewport is your storyboard. "Add shot" adds a shot after the current one and keeps the staging, so the cast stays where they stood. Open "Shot options" on a card to Rename it, set its Duration, Duplicate it or Delete it, and drag a card (or use Move earlier / Move later) to reorder. The strip shows the total runtime as you go. Write what happens in each shot in Notes in the shot inspector, so the scene file carries your shot list.
Screenshot of kreatorflow.ai, 2026-11-06 - 3
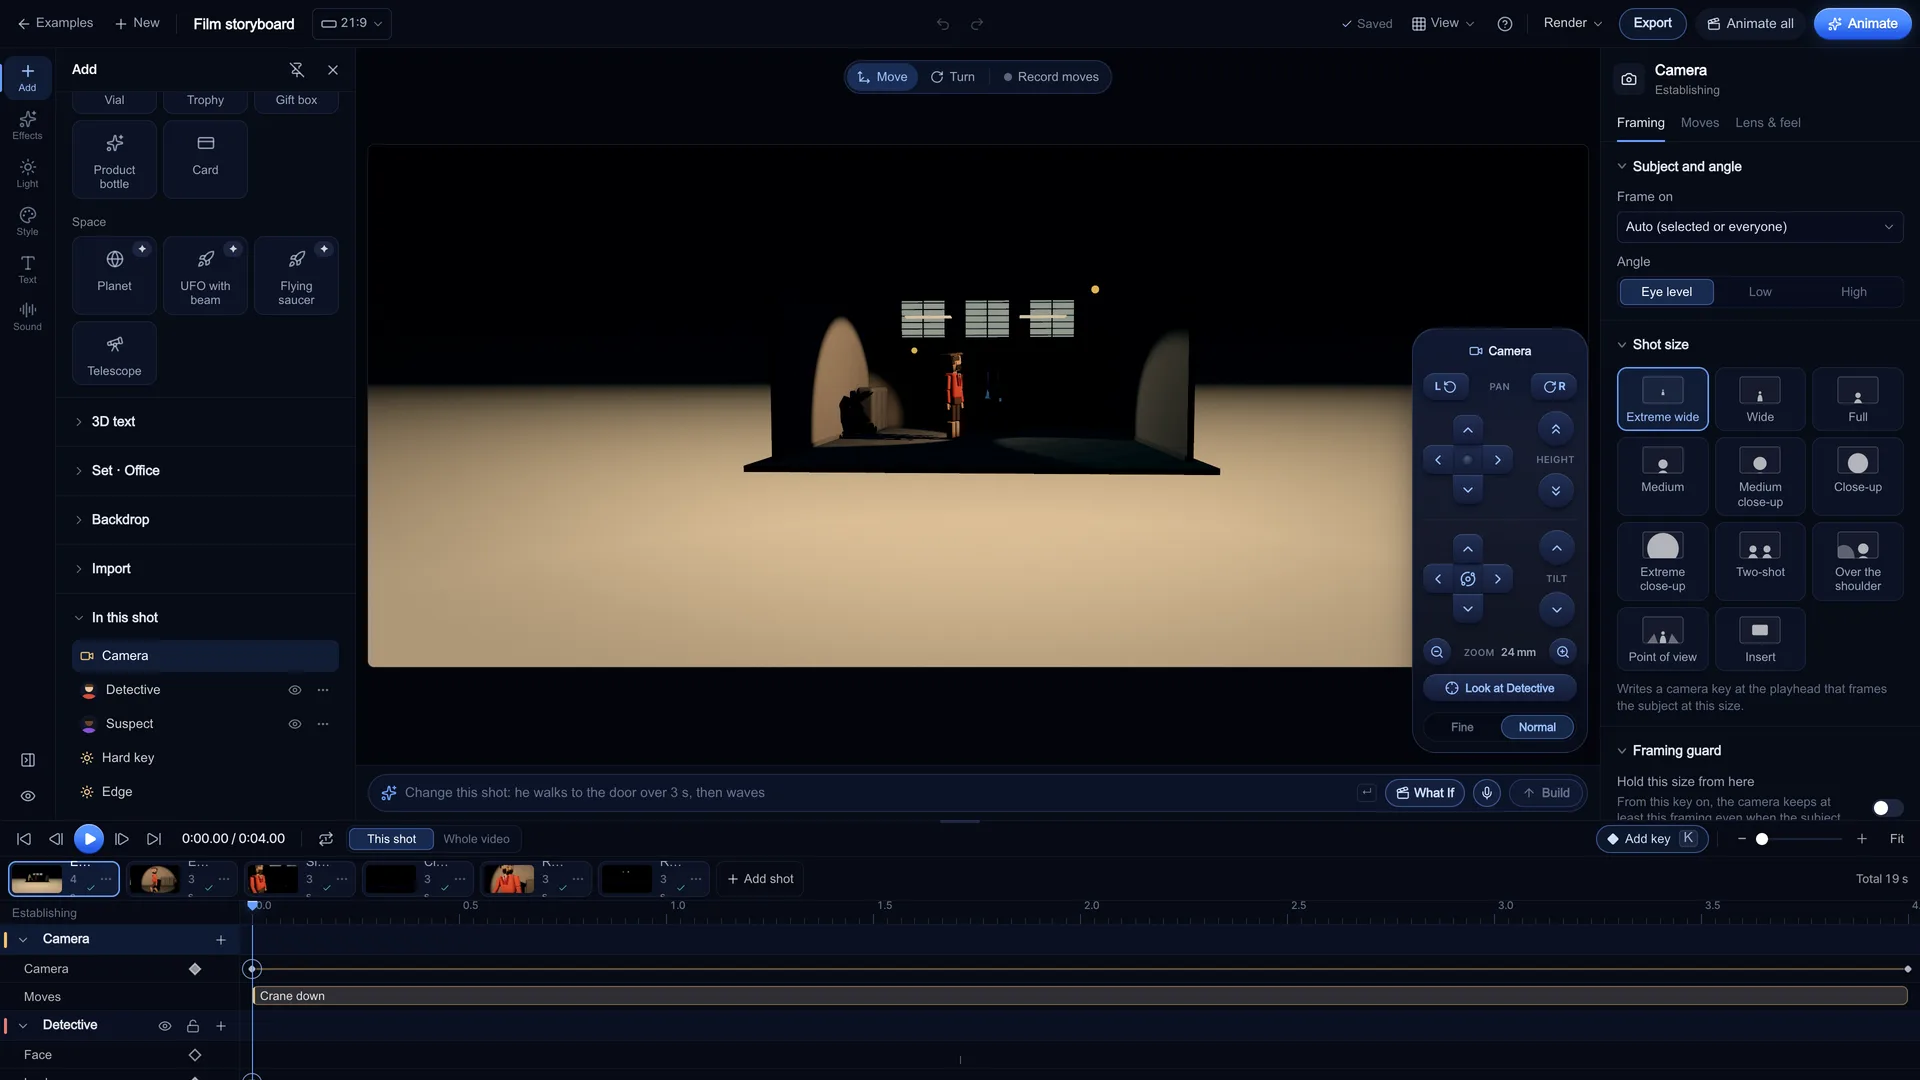
Frame each shot with the guides on
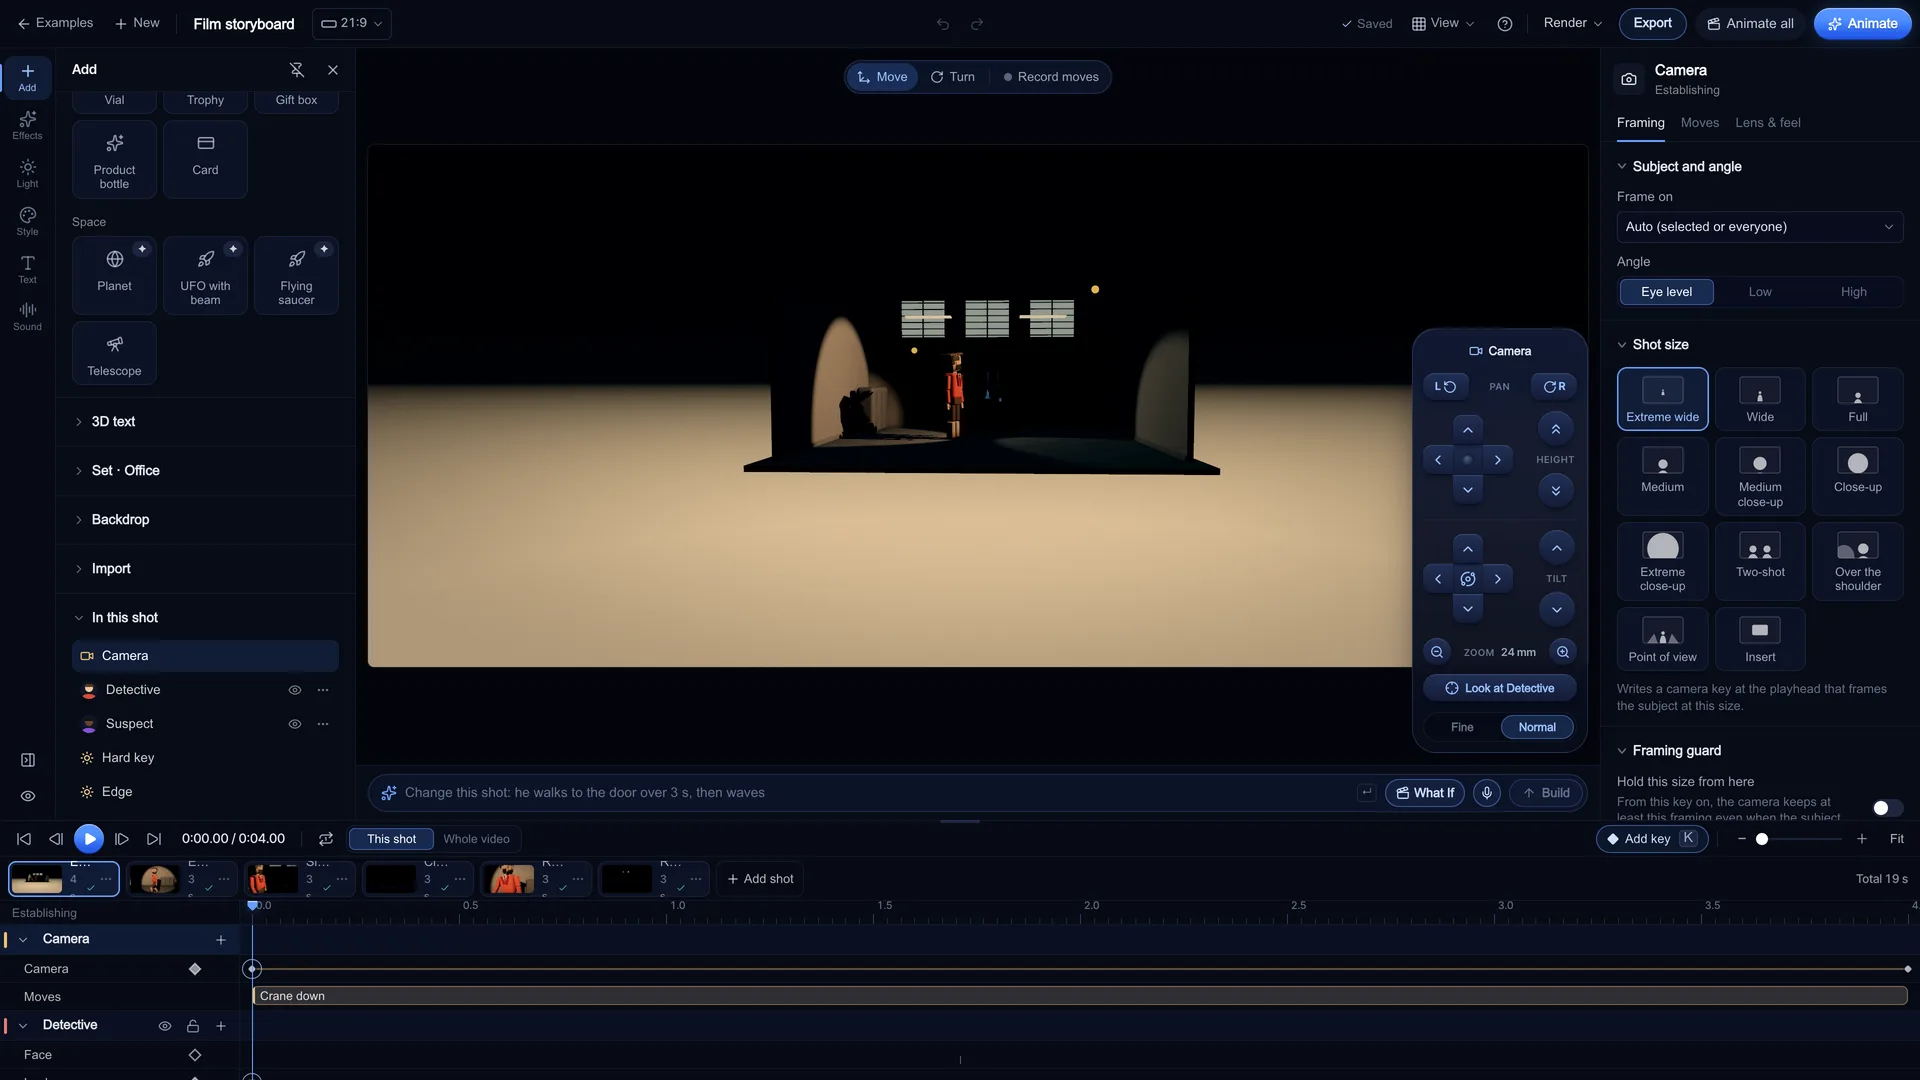
Turn on "Guides and safe areas" in the View menu: faint lines mark the caption-safe and UI-safe zones. Pick a Framing for the shot (extreme wide to extreme close-up, two-shot, over the shoulder, point of view or insert) and a Lens, then add a camera move such as push-in or crane down. Moves write real keyframes you can drag on the timeline. Press Space to play the shot and check the timing.
Screenshot of kreatorflow.ai, 2026-11-06 - 4
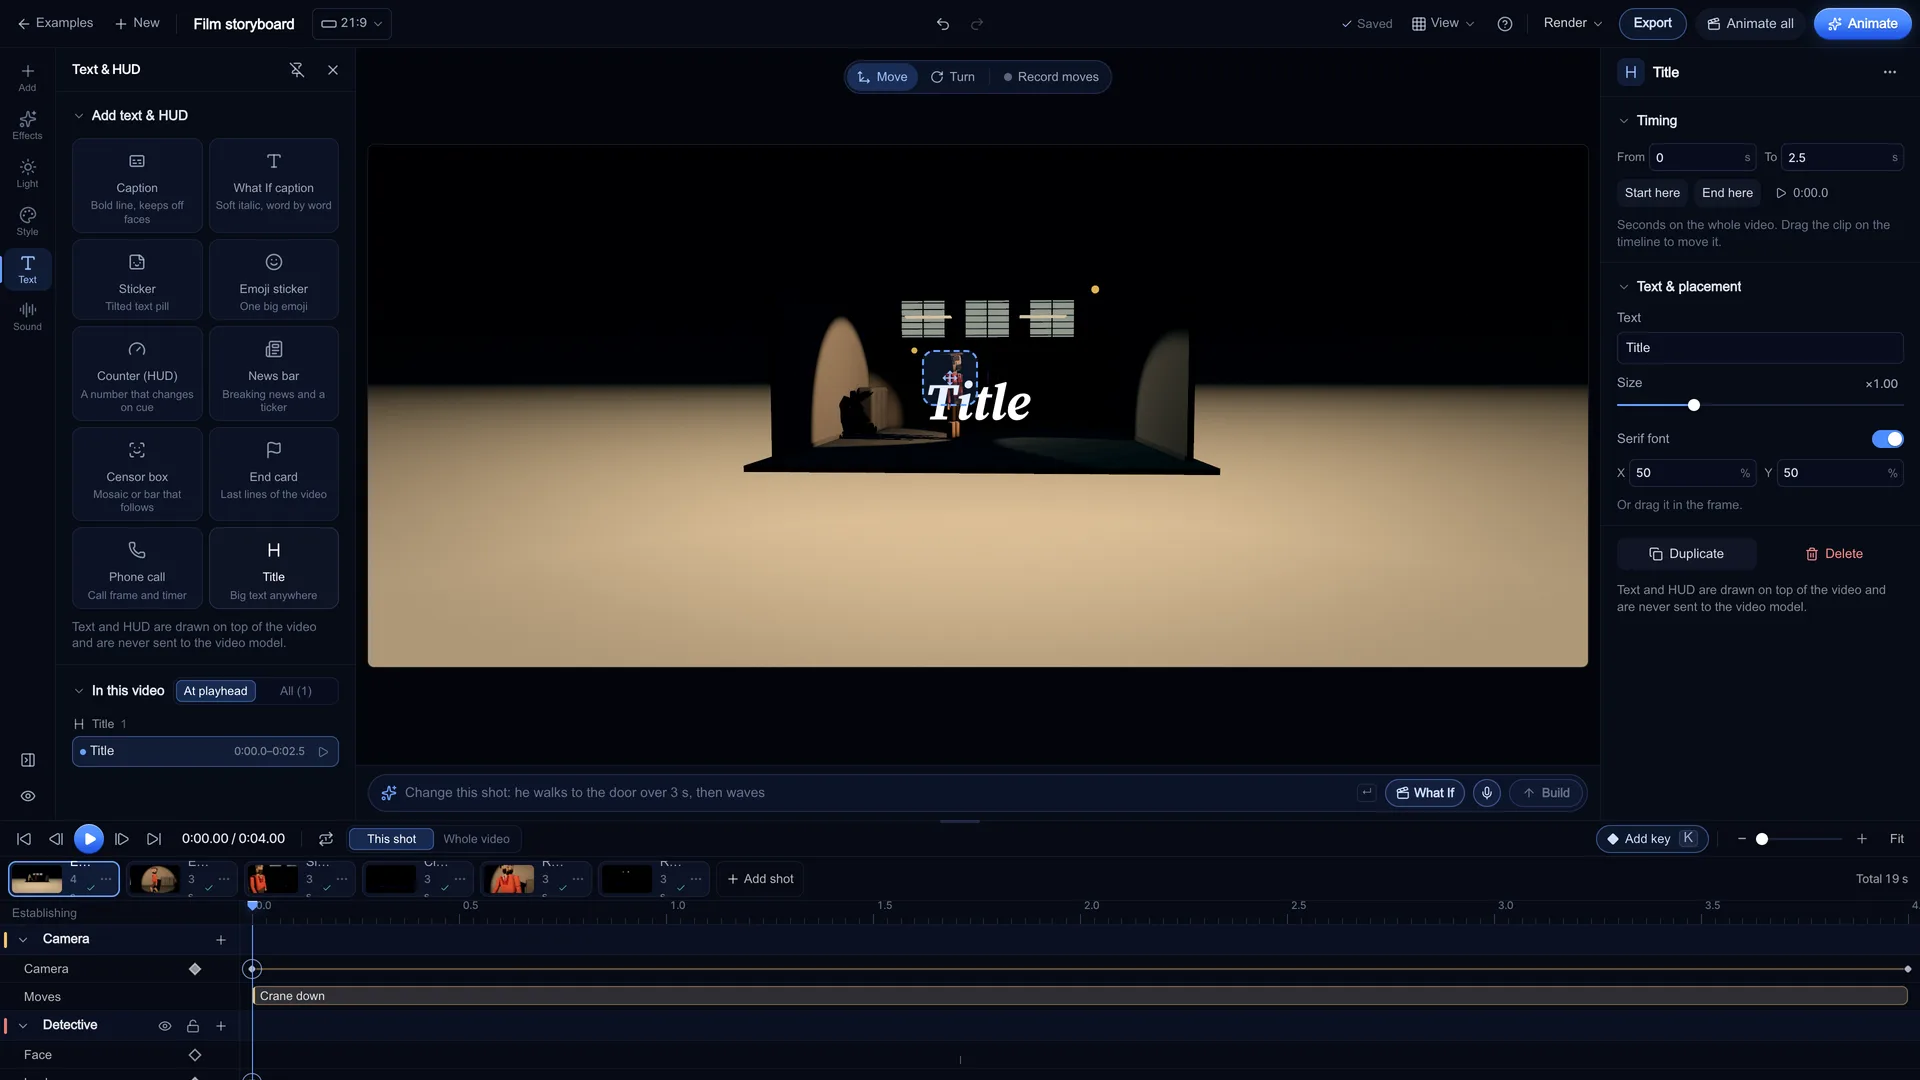
Add titles and captions
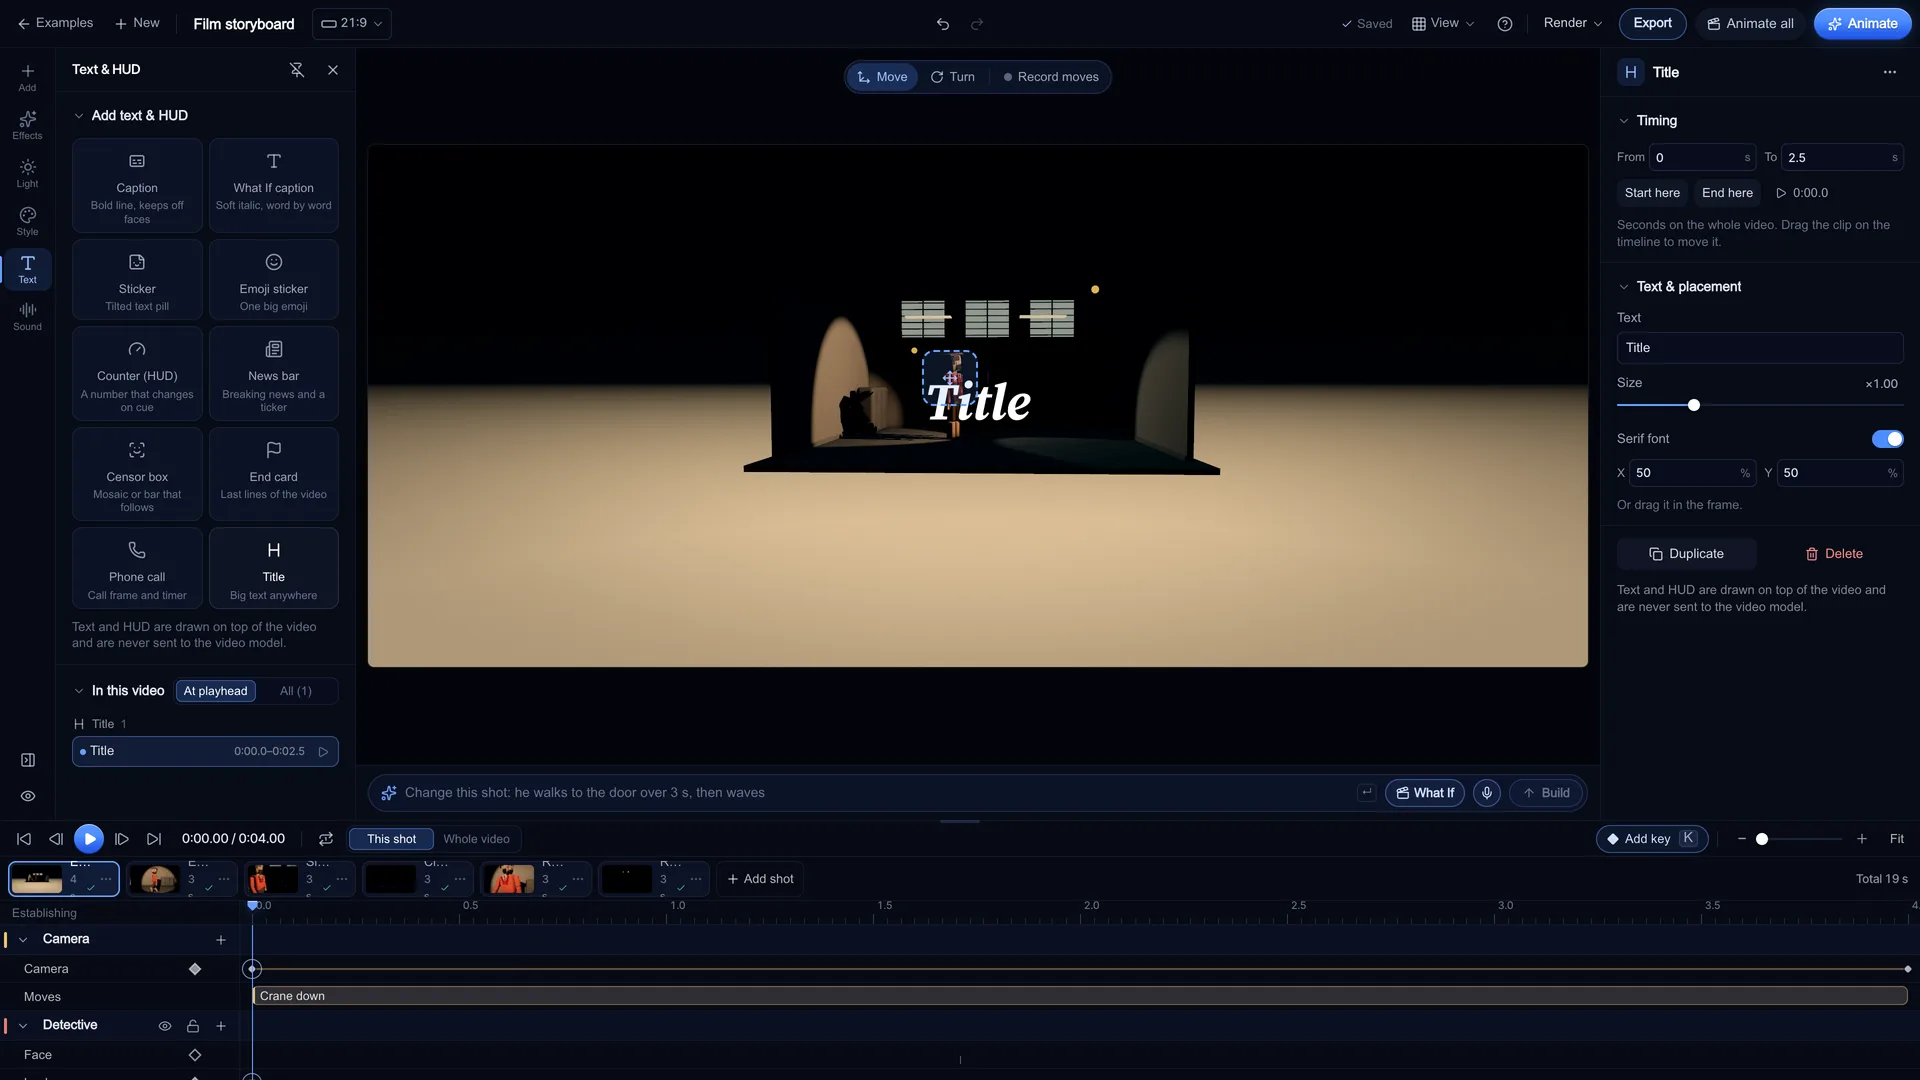
Open Text & HUD and pick a tile: Title, Caption, End card, News bar, Counter, Sticker or Censor box. Each one starts at the playhead and can be dragged on the timeline. Text and HUD are drawn on top of the picture and are never sent to the video model, so a slate or a caption on your animatic will not leak into the AI clip.
Screenshot of kreatorflow.ai, 2026-11-06 - 5
Export the previs video
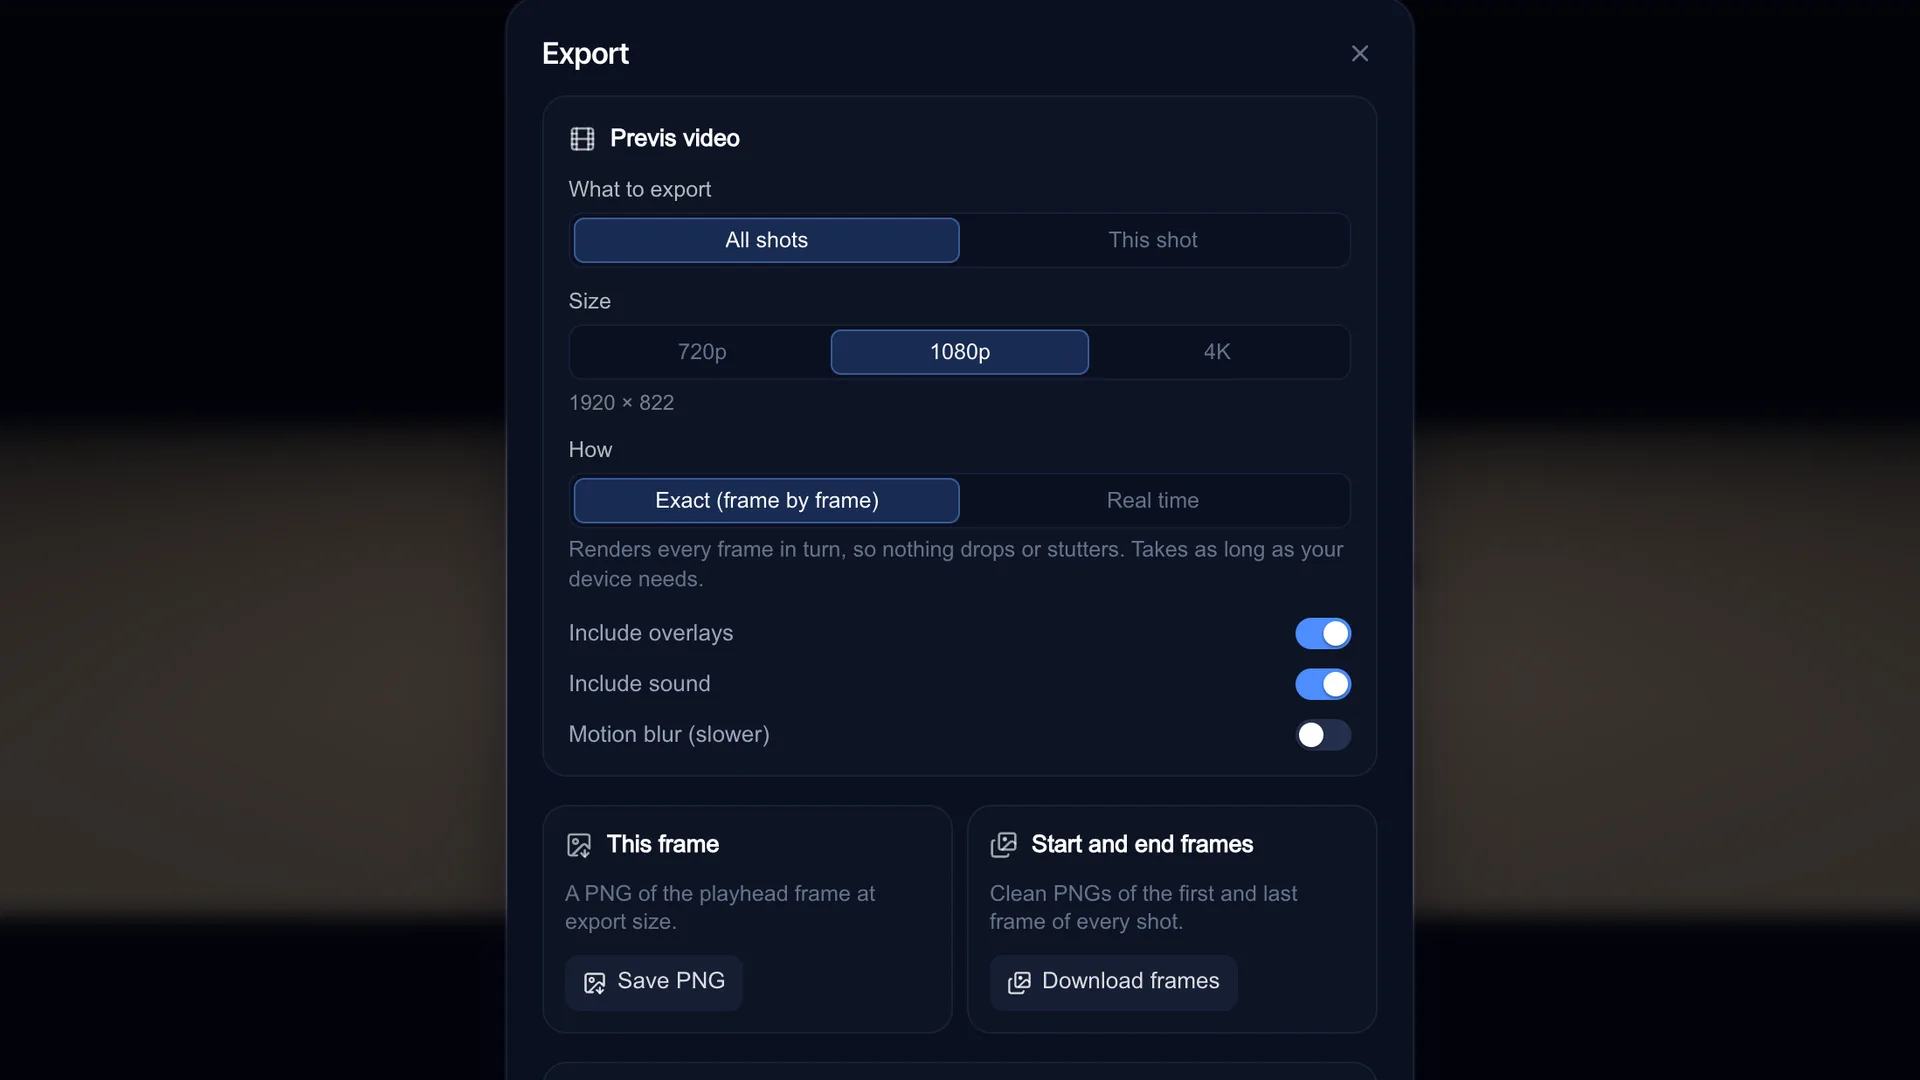
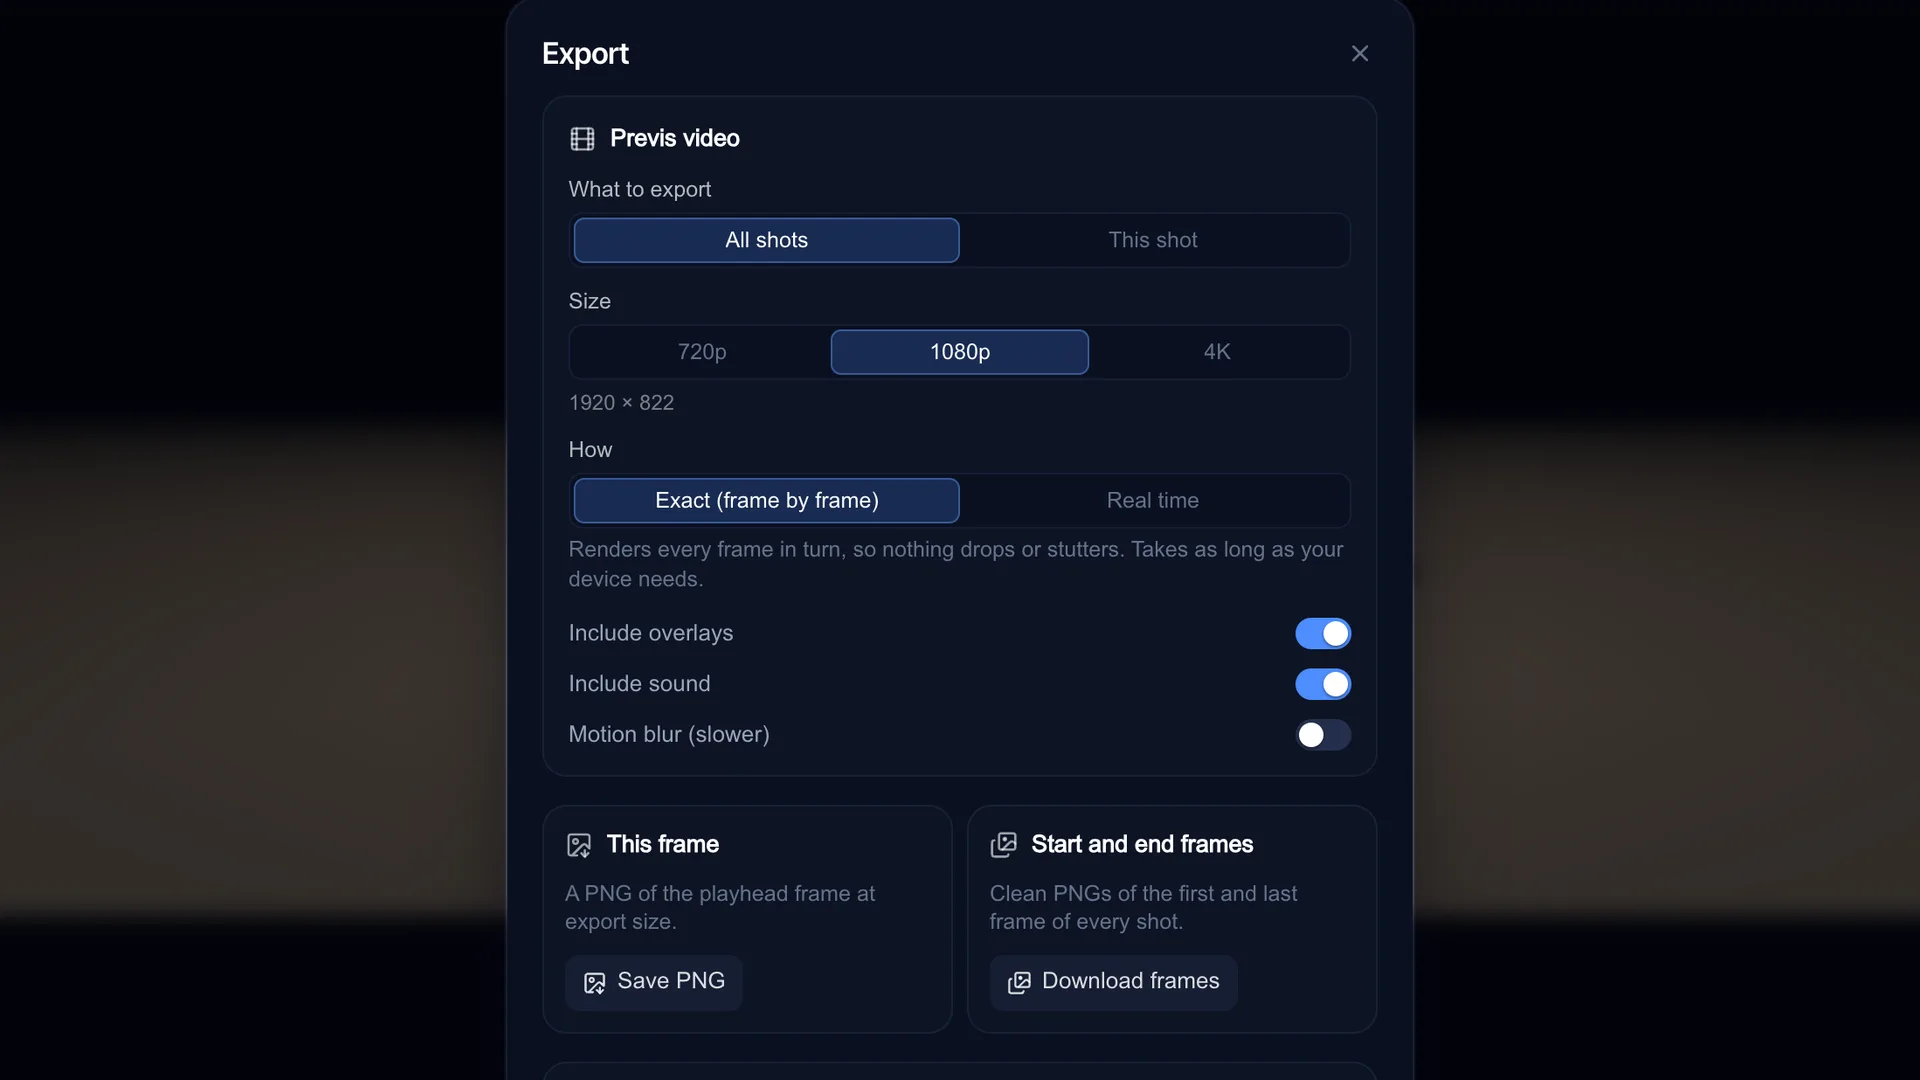
Press Export. Under Previs video choose All shots or This shot, a Size (720p or 1080p; 4K appears in Exact mode when your browser's encoder can take it), and whether to include overlays and sound. Real time records the scene as it plays. Exact (frame by frame) renders every frame in turn at 30 fps, so nothing drops or stutters, and adds optional motion blur: Standard (8 sub-frames) or Smooth (24 sub-frames, slowest). Keep the tab open while it records.
Screenshot of kreatorflow.ai, 2026-11-06 - 6
Download the start and end frames
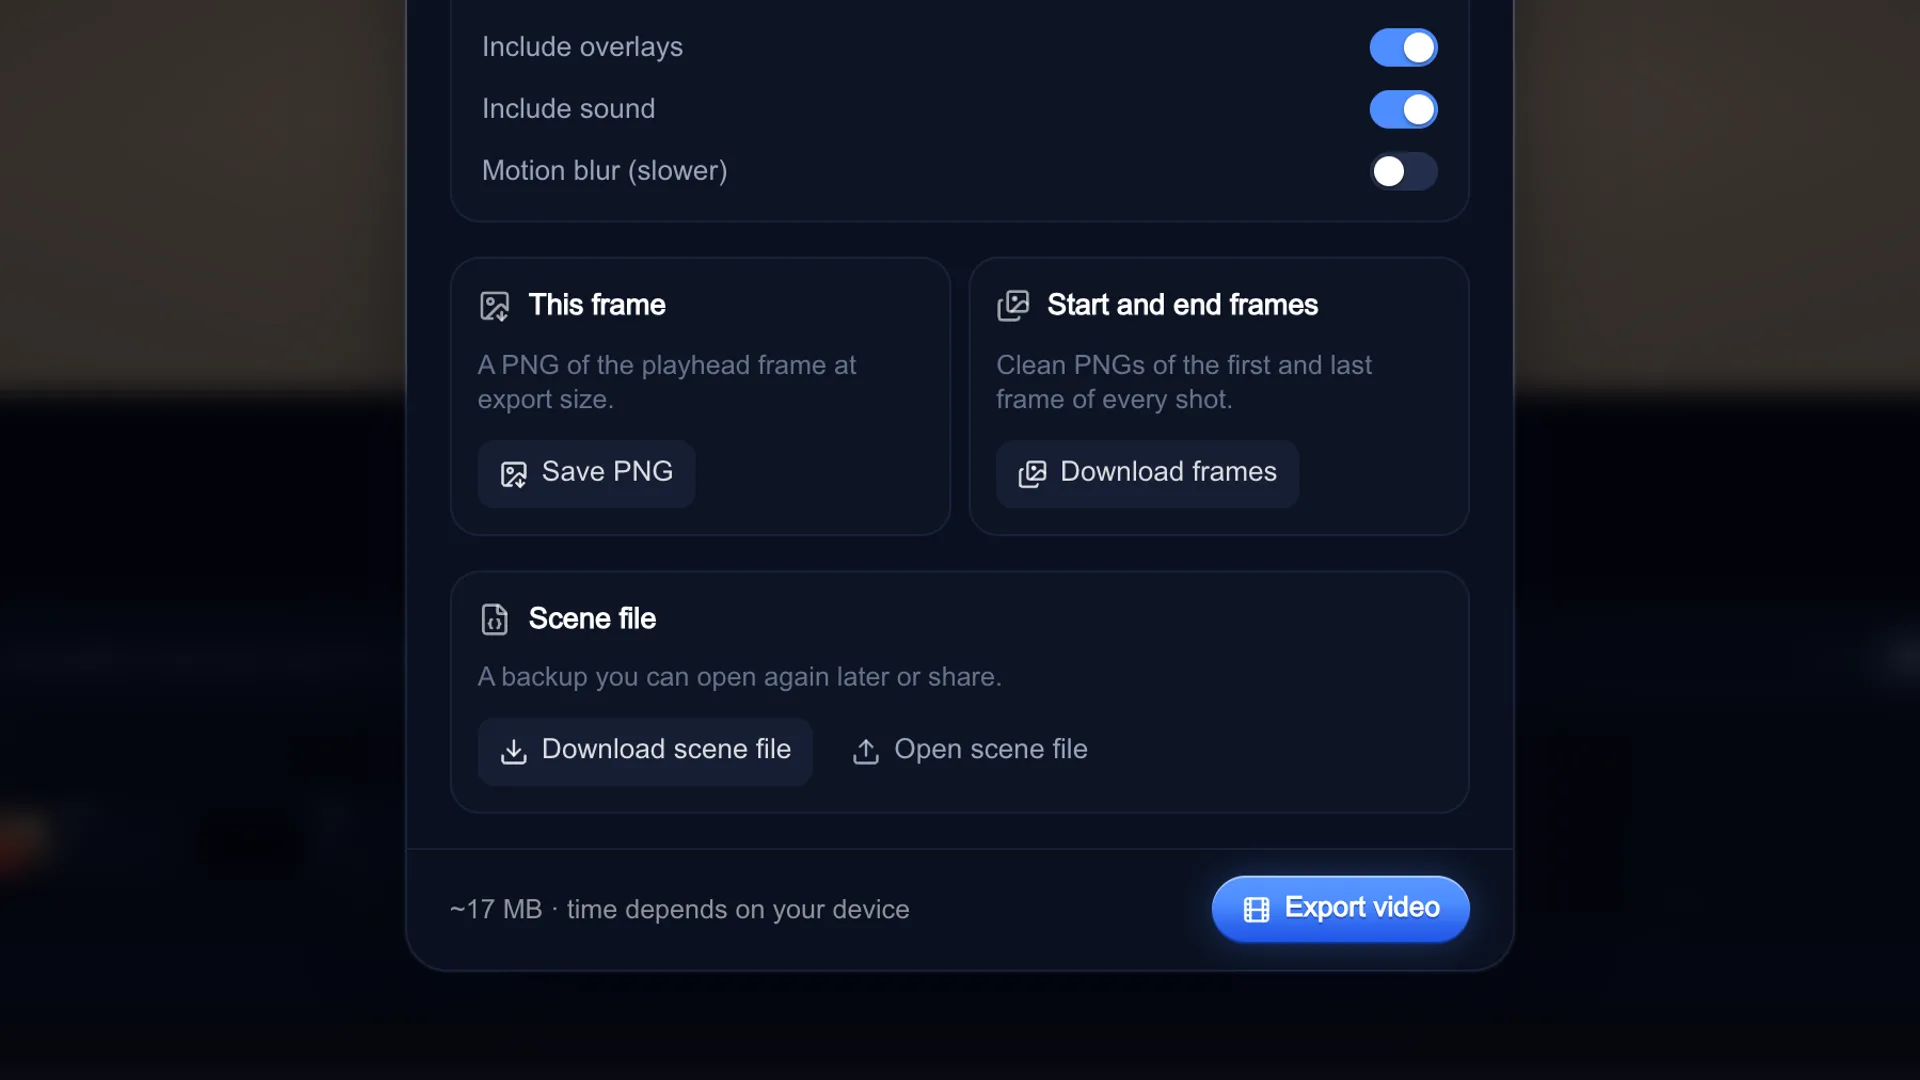
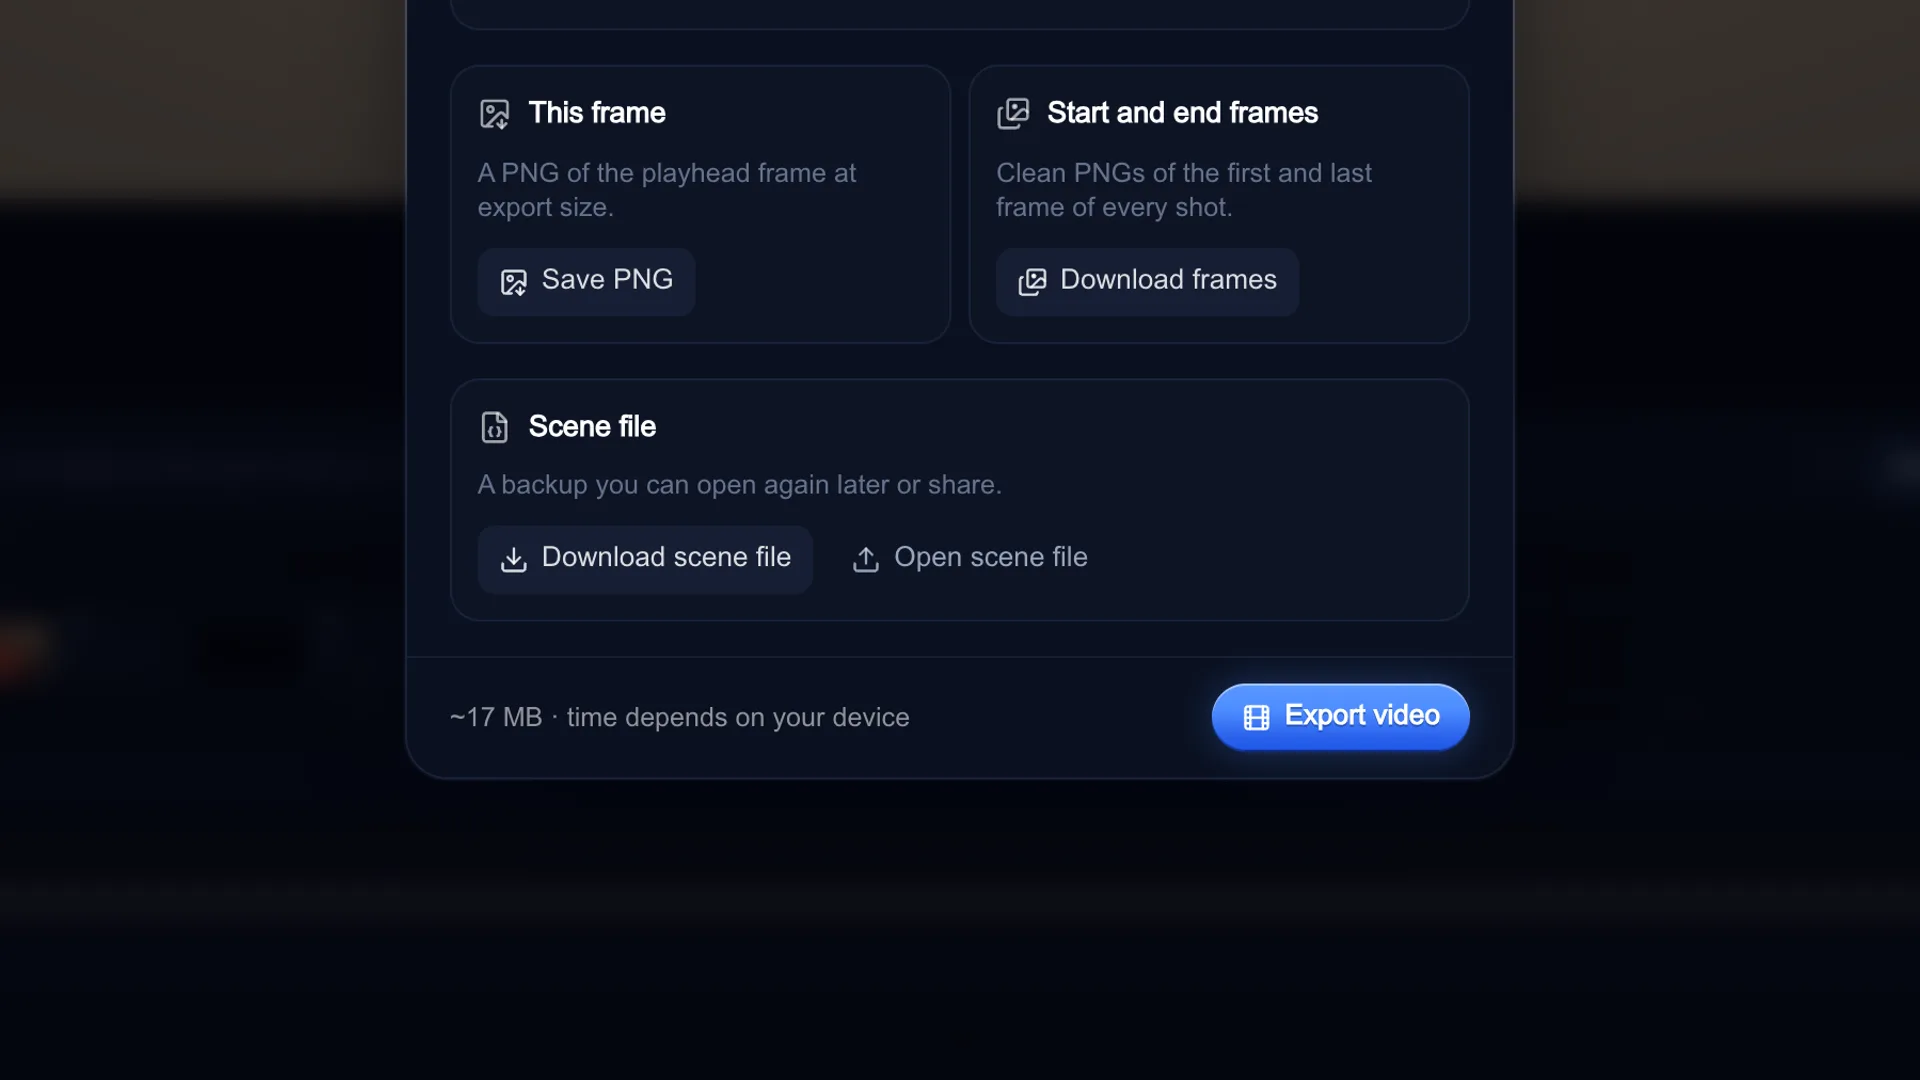
In the same dialog, "Start and end frames" saves clean PNGs of the first and last frame of every shot, with no overlays, saved as files ending in shot1-start and shot1-end and so on. These are your storyboard panels for a deck or a PDF, and the same frames Animate uses as the starting image of each AI clip.
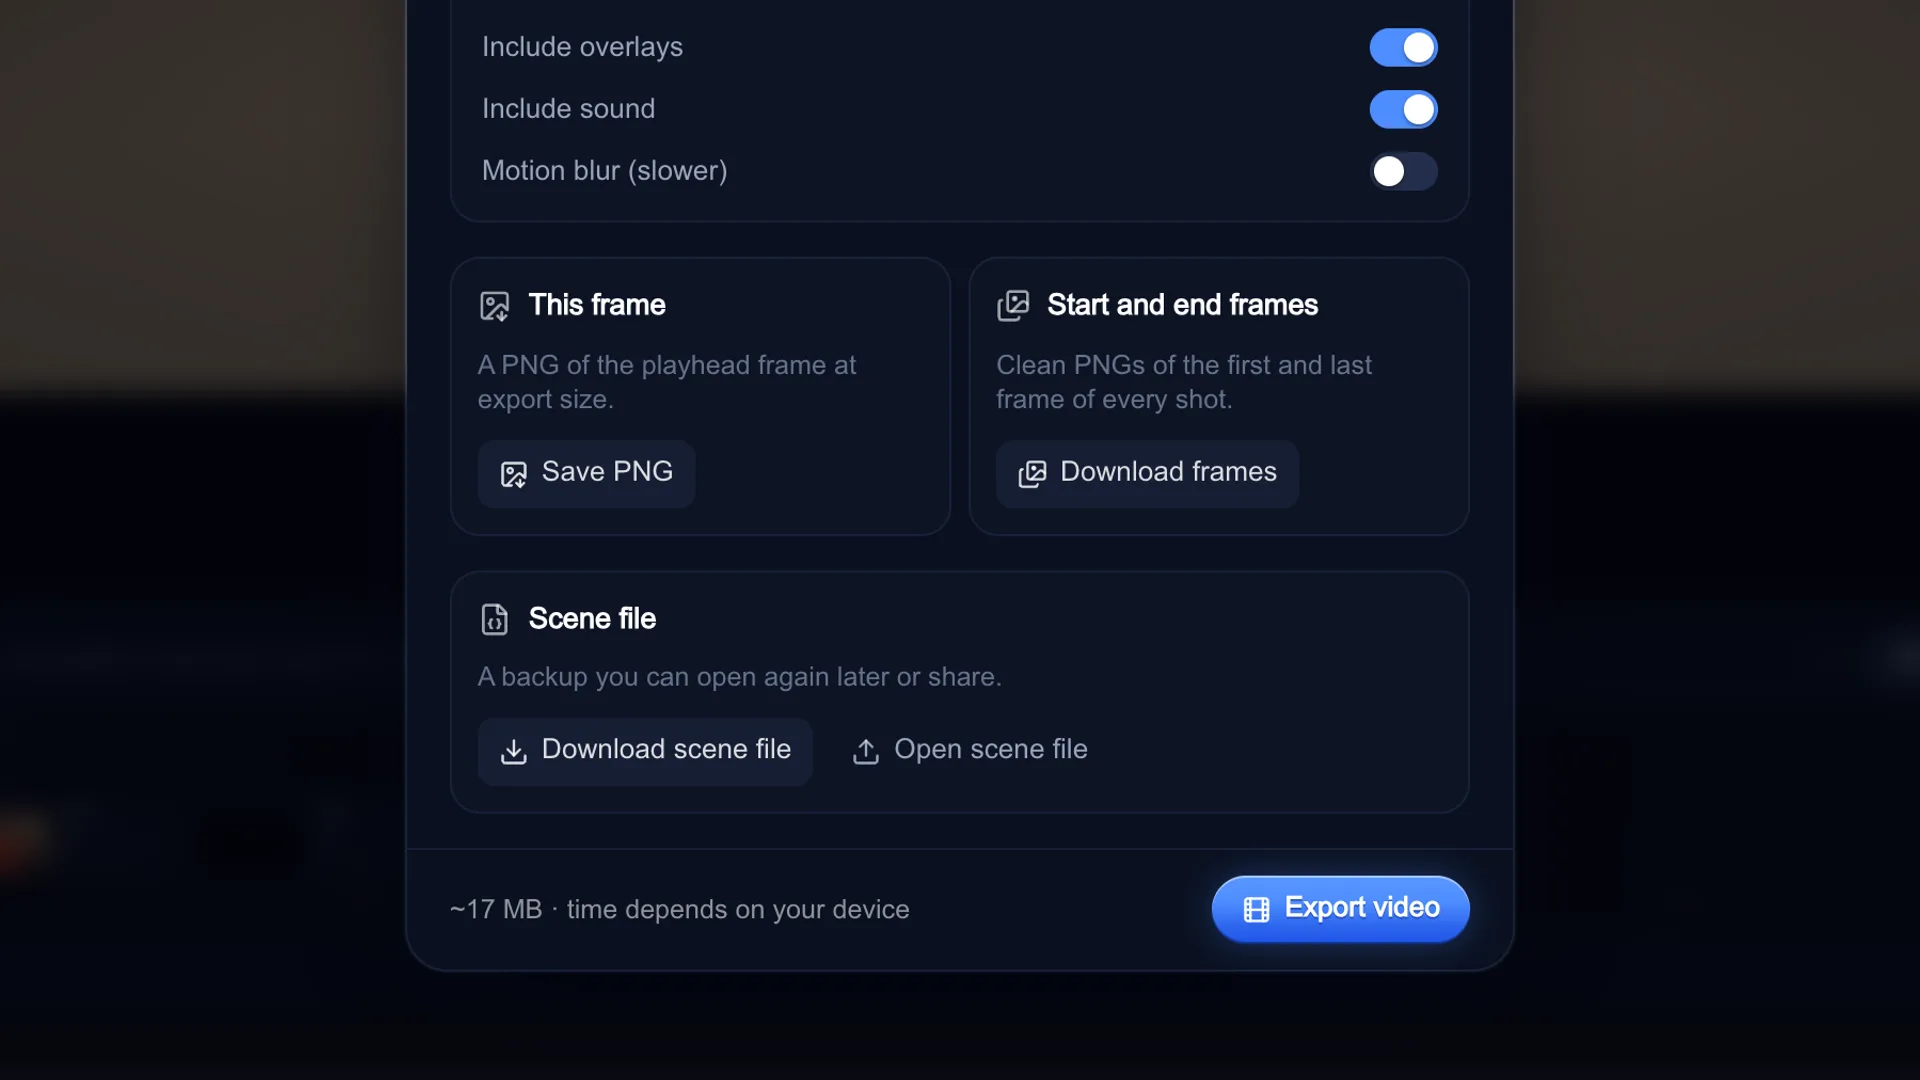
Screenshot of kreatorflow.ai, 2026-11-06 - 7
Save the scene file to share
"Download scene file" saves the whole project as one file: shots, cast, lights, camera keys, text and sound placement. Send it to a collaborator or client and they open it with "Open scene file" in Stage, free and with no account. Projects also save in your browser automatically and show up under "Continue where you left off".
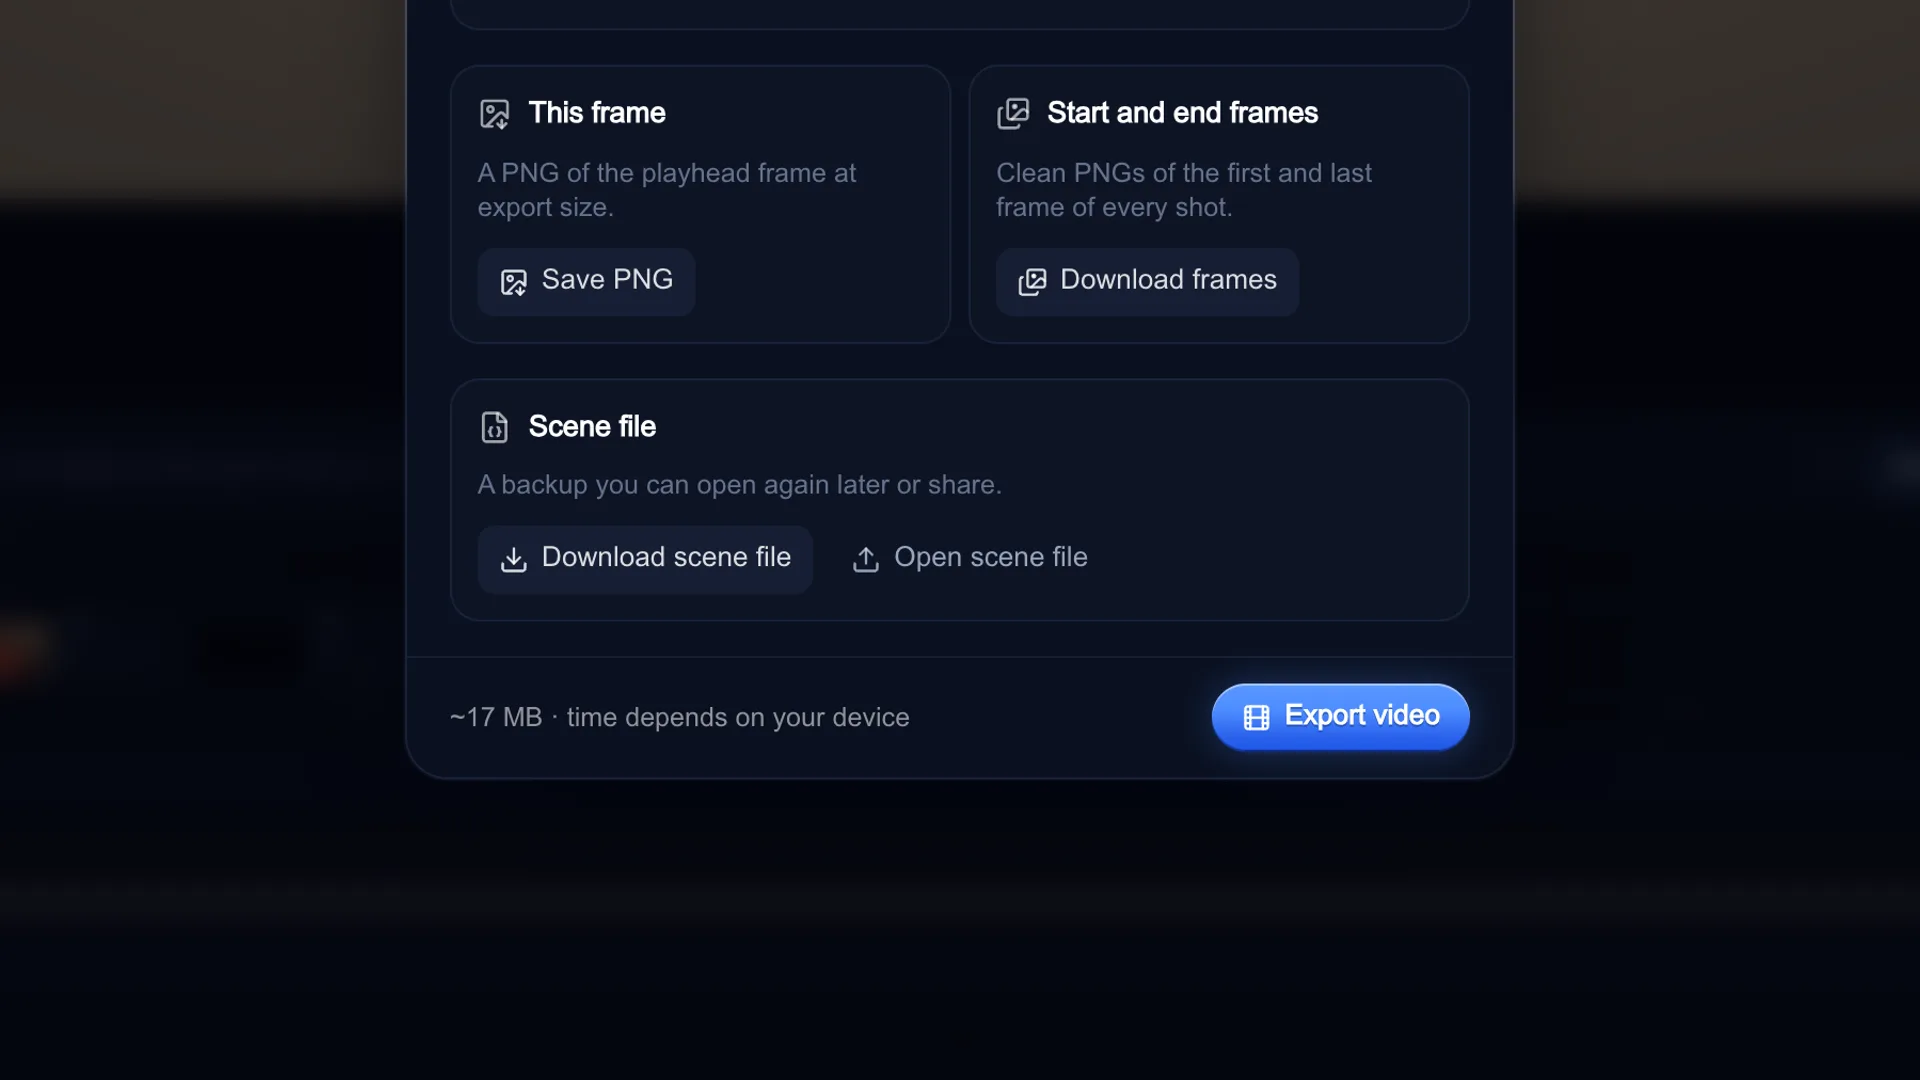
Screenshot of kreatorflow.ai, 2026-11-06
What is in the Film storyboard starter
The starter is a complete interrogation scene you can rework into your own story. Its 6 shots run 19 s in total, all at 21:9:
- Shot 1, Establishing: 4 s, extreme wide, crane down
- Shot 2, Enter: 3 s, full shot
- Shot 3, Sit down: 3 s, two-shot
- Shot 4, Close-up: 3 s, close-up, push-in
- Shot 5, Reverse: 3 s, over the shoulder
- Shot 6, Reveal: 3 s, medium close-up, vertigo (dolly zoom)
Hand the boards to AI video
When a shot looks right, press Animate (or "Animate this shot" in Shot options). Stage renders clean start and end frames at the shot's frame shape, snaps the length to the model you pick and writes a motion brief you can edit. "Open in Video studio" opens the shot there with the frames and brief filled in: nothing is spent in Stage, and you see the cost before you press Generate.
Seedance takes the start frame exactly as you framed it, and the brief describes the move and where the shot ends.
To do the whole board at once, Animate all generates a clip for every shot inside Stage after a confirm screen with the estimated total. The videos come back as takes on each shot, and the Exact export can then use the generated clips in place of the 3D render ("Use generated clips"), so your animatic becomes a rough cut.
KreatorFlow is an official partner of BytePlus, a ByteDance company. A single 5-second 720p Seedance 2.0 clip costs 15 credits.
What it costs to animate the Film storyboard starter
Planning and exporting cost nothing. If you animate all 6 shots, each one is snapped to a clip length the model takes and priced with the Video studio's own credit code. Models offered right now: Seedance 2.5, Seedance 2.0, Seedance 2 Fast and Seedance 2.0 Mini. On Seedance 2.0 at 720p the whole board is 72 credits.
Credits for all 6 shots of the starter, read from the studio's credit code. A model that does not take 21:9 gets frames re-rendered at its closest shape, never squashed.
| Model | Frame shape | Frames used | Clip lengths | 720p total | 1080p total |
|---|---|---|---|---|---|
| Seedance 2.5 | 21:9 | Start only | 4 s each | 114 | 240 |
| Seedance 2.0 | 21:9 | Start only | 4 s each | 72 | 144 |
| Seedance 2 Fast | 21:9 | Start only | 4 s each | 60 | 96 |
| Seedance 2.0 Mini | 21:9 | Start only | 4 s each | 42 | 84 |
Sound in your animatic
Tick "Include sound" in the export and the animatic carries everything on the timeline: your own uploaded voice-over, the built-in CC0 sound effects, and music or ambience beds that duck under the voice. Uploaded files stay on your device.
You can also make voice lines with KreatorFlow voices right in Stage, with lip sync and a caption on the timeline. A line costs 2 credits per started 1,000 characters, and you confirm before it is made. Moving a line you have already made is free.
What the export is not
Stage exports pictures, video and its own scene file. Be clear about what it does not do before you plan a pipeline around it:
- It does not export an EDL or XML for Premiere Pro, DaVinci Resolve or Final Cut. Bring the MP4 or the PNGs into your editor instead.
- It does not export camera data, FBX, .blend, glTF or USD for other 3D software, and the scene file only opens in Stage.
- It does not render in the cloud: everything runs on your own graphics card. Cinema render is marked Coming soon and is not available.
- It does not edit on phones: the editor needs a computer screen. Phones get a read-only viewer for the examples.
- It does not save to the cloud or let two people edit at once. Share the scene file instead.
Questions other guides skip
What is the difference between a storyboard, an animatic and previs?
A storyboard is a set of still panels, one per shot. An animatic plays those panels in time, usually with rough sound, so you can feel the pacing. Previs (previsualisation) goes further: the shots are staged in 3D with real camera moves and lenses. In Stage you get all three from the same scene: the start and end PNGs are the storyboard, and the previs video is the animatic, with the camera actually moving.
Can I use the animatic itself as the AI video's input?
Not as a video. Animate sends a shot's clean start frame (and, on models that take one, the end frame) plus an editable motion brief and the shot length to the Video studio. The 3D move guides what you write in the brief and what the frames show; the AI model generates the motion itself.
How long can each shot be when it becomes an AI clip?
Stage shots run up to 15 seconds. Each video model only takes certain clip lengths, so Animate snaps your shot to the nearest one the model accepts (ties go to the longer one, so the planned action is never cut short) and tells you when it did. The shot strip marks lengths that video models accept.
Frequently asked questions
Is there a free 3D storyboard and animatic maker?
Yes. Stage on KreatorFlow is free for planning and exporting and runs in your browser on a computer. Start from the Film storyboard starter, then export a previs video, start and end PNGs for every shot and a scene file. Only turning shots into AI video costs credits, after you confirm.
Can a client open my scene file?
Yes, in Stage. Send them the scene file and they use "Open scene file" in the Export dialog, free and without an account. The file does not open in other software.
Can my animatic have sound?
Yes. With "Include sound" on, the export carries your voice-over, sound effects and music from the timeline. KreatorFlow voice lines cost 2 credits per started 1,000 characters; uploaded audio and the built-in sounds are free.
What frame rate and sizes does the previs export use?
Stage plans at 30 fps. Exact (frame by frame) export renders every frame at 30 fps at 720p, 1080p or 4K, with optional motion blur. Real time records the playback at 720p or 1080p and depends on your computer keeping up. The file is MP4 where your browser can record it, otherwise WebM.
How many shots can a storyboard have?
Up to 36 shots per video, each up to 15 seconds, with the total runtime shown on the shot strip.
Can I make a 21:9 cinema storyboard?
Yes. The Film storyboard starter is 21:9, and Frame shape in the top bar switches between 16:9, 9:16, 1:1, 4:3, 3:4 and 21:9 at any time. When you animate, a model that does not take your shape gets frames re-rendered at its closest one.