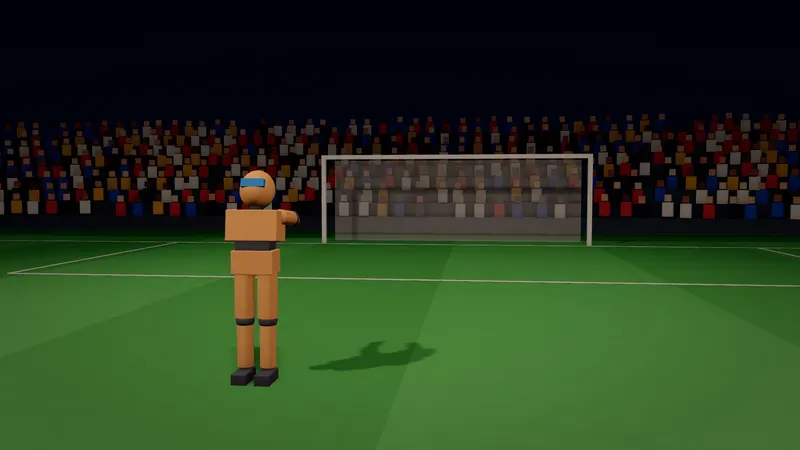
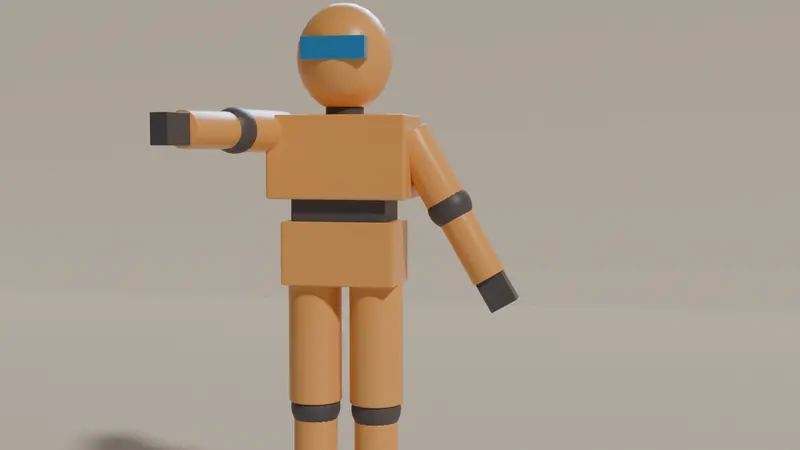
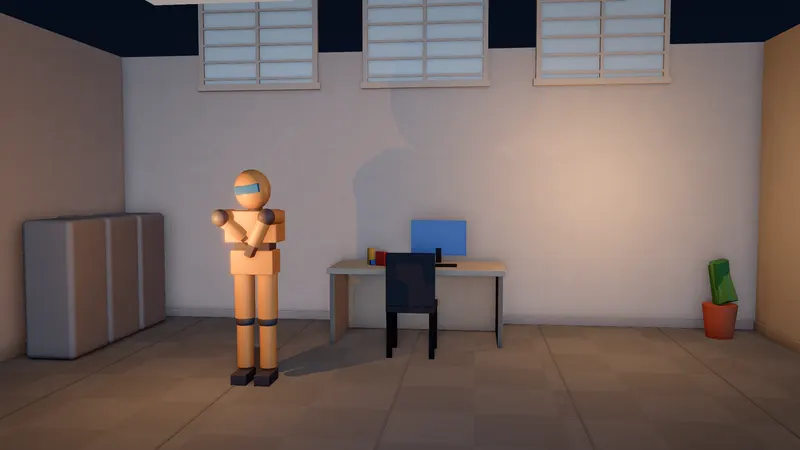
Get started
Try the Stage route on a shot you would block in Blender
- 1
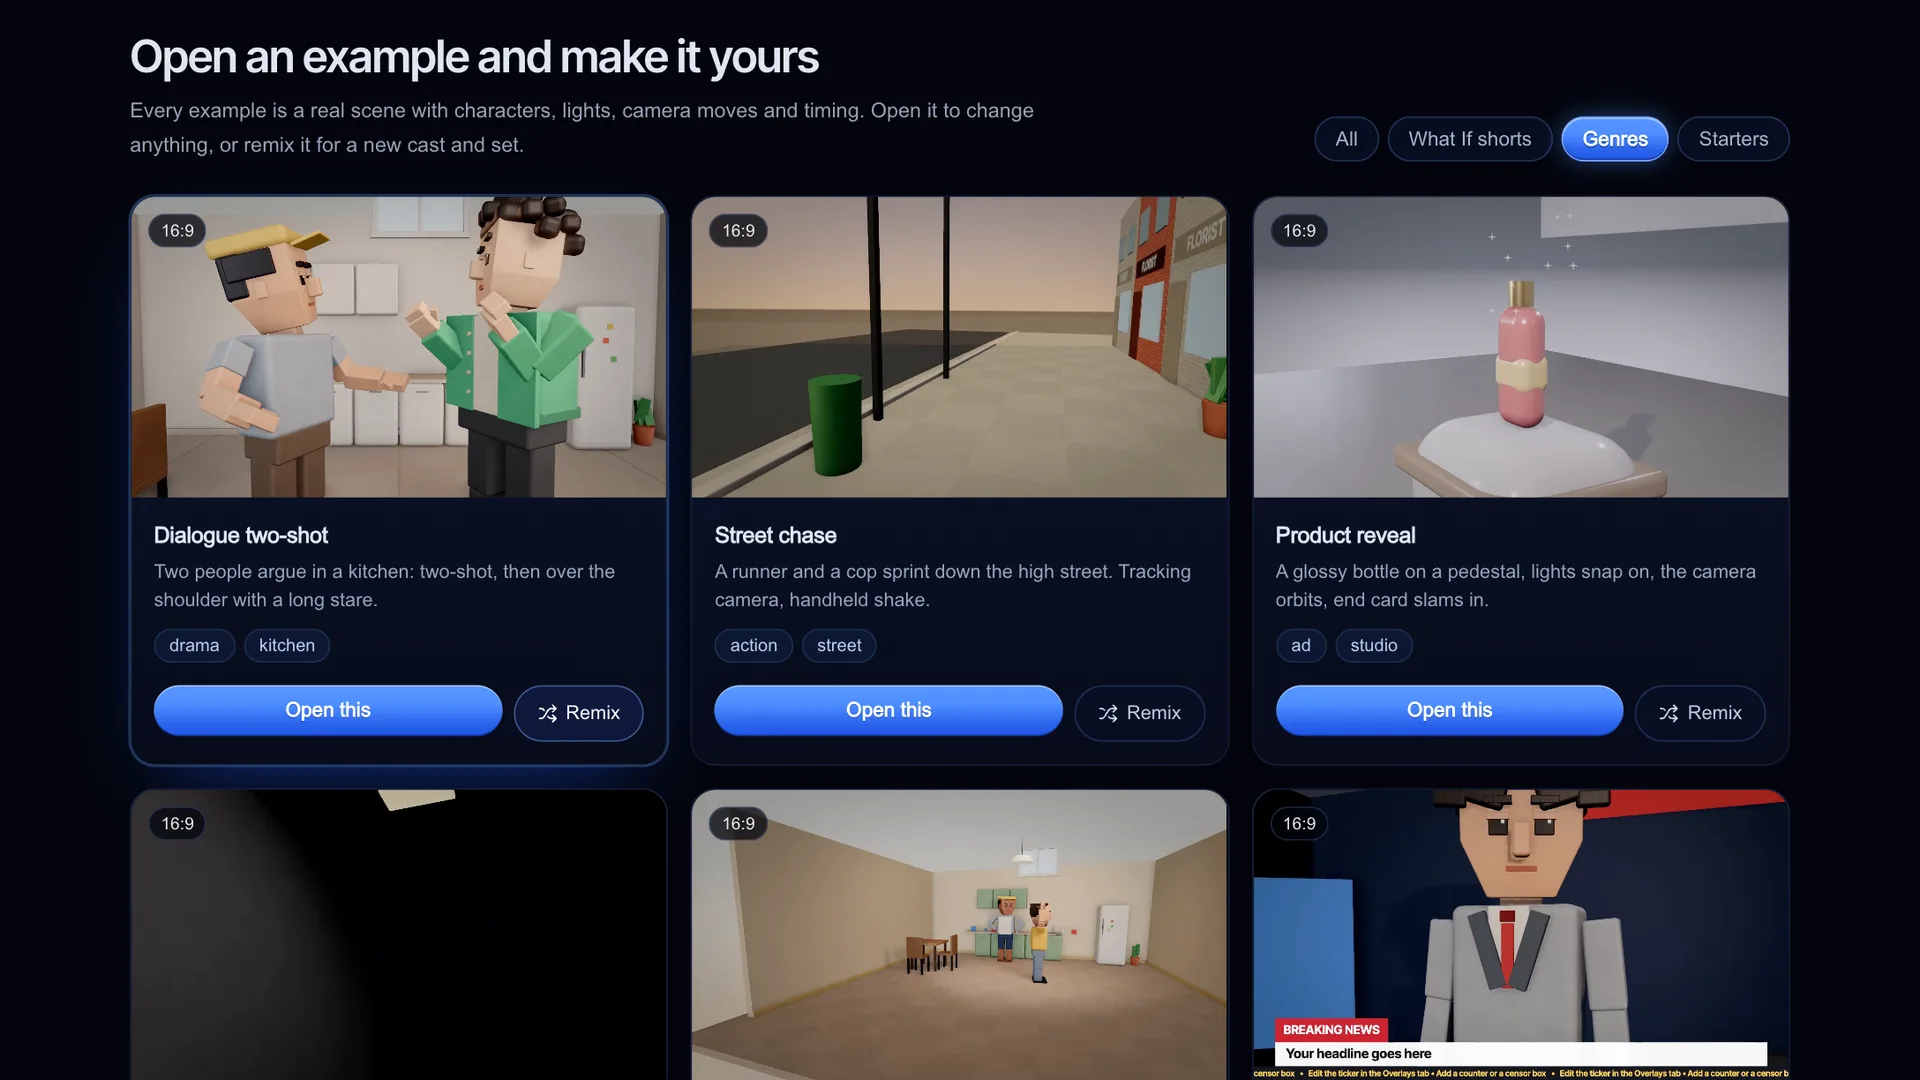
Open an example instead of an empty scene
Go to /stage and pick one of the 14 examples, then press Open this (or Remix for a new cast and seed). You start with a set, characters, lights and camera keys already in place, which is the part a Blender blockout spends most of its time on.
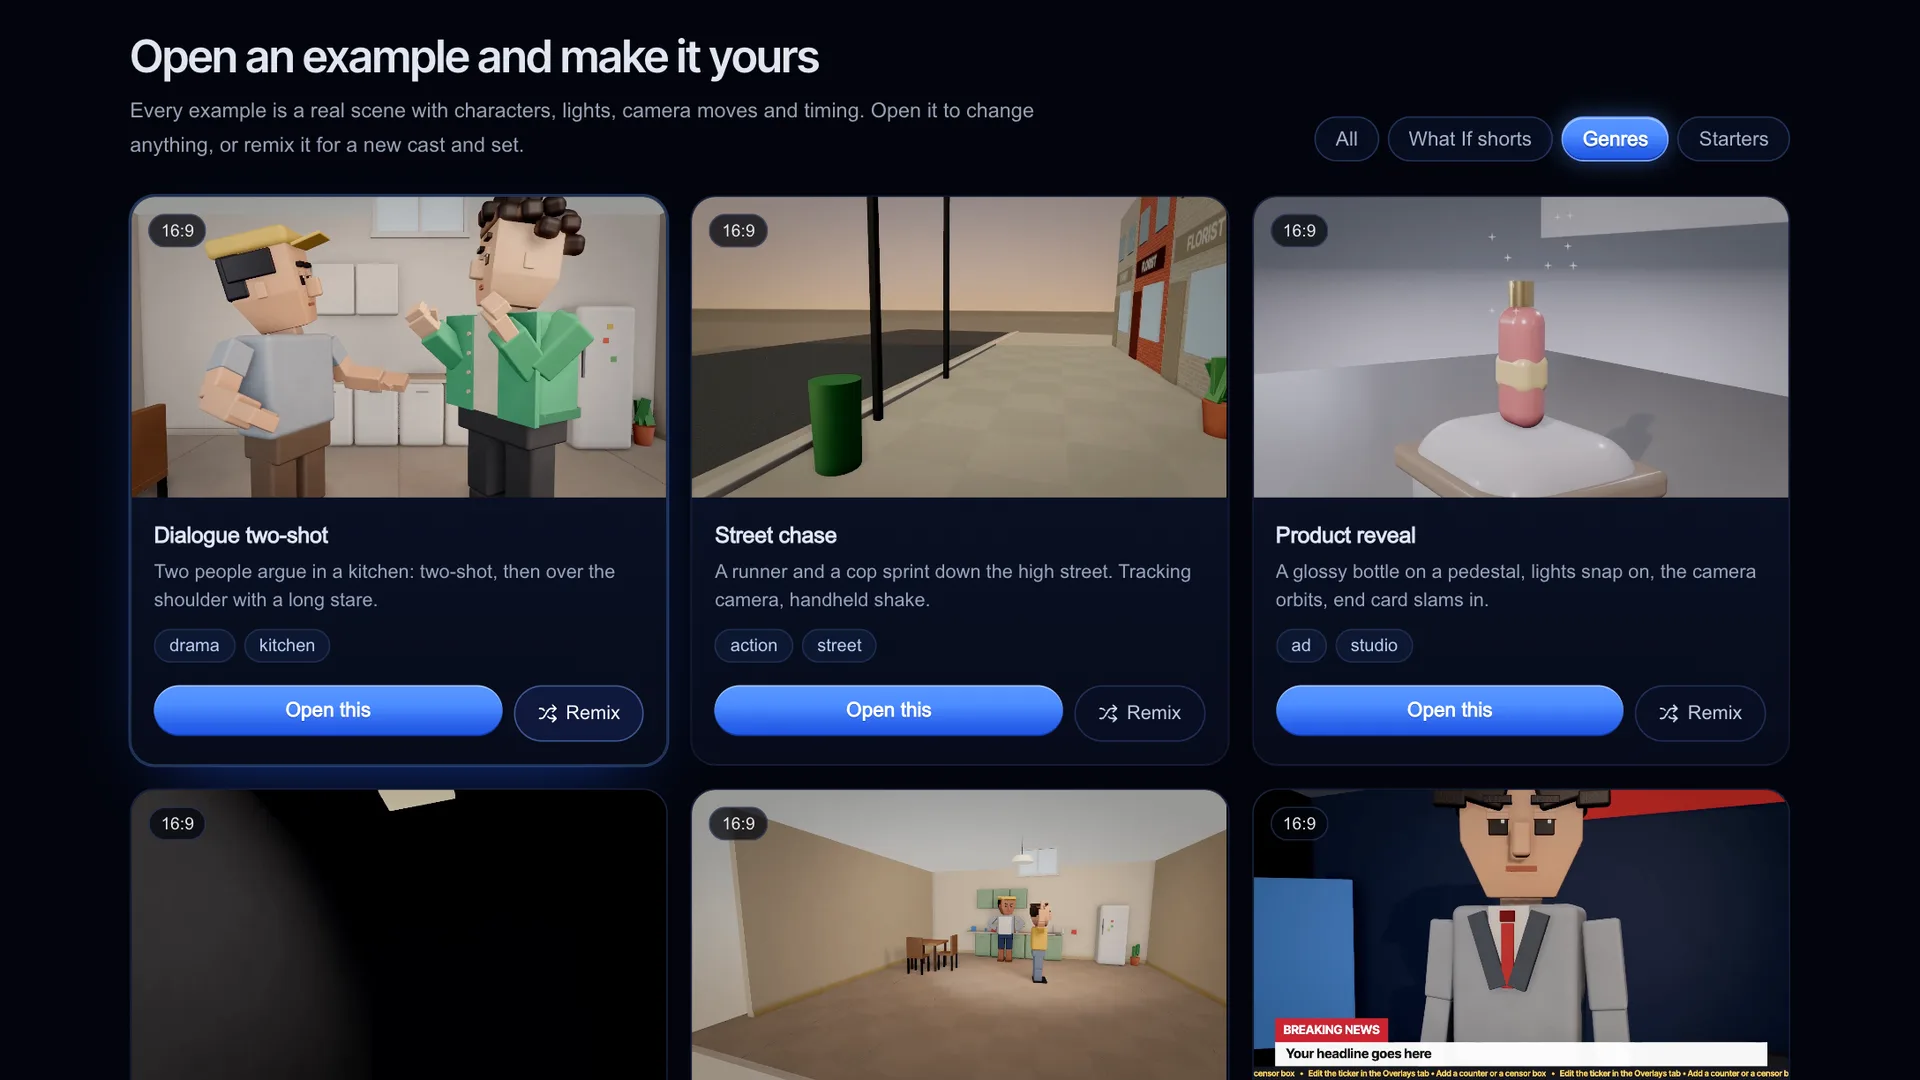
Screenshot of kreatorflow.ai, 2026-11-06 - 2
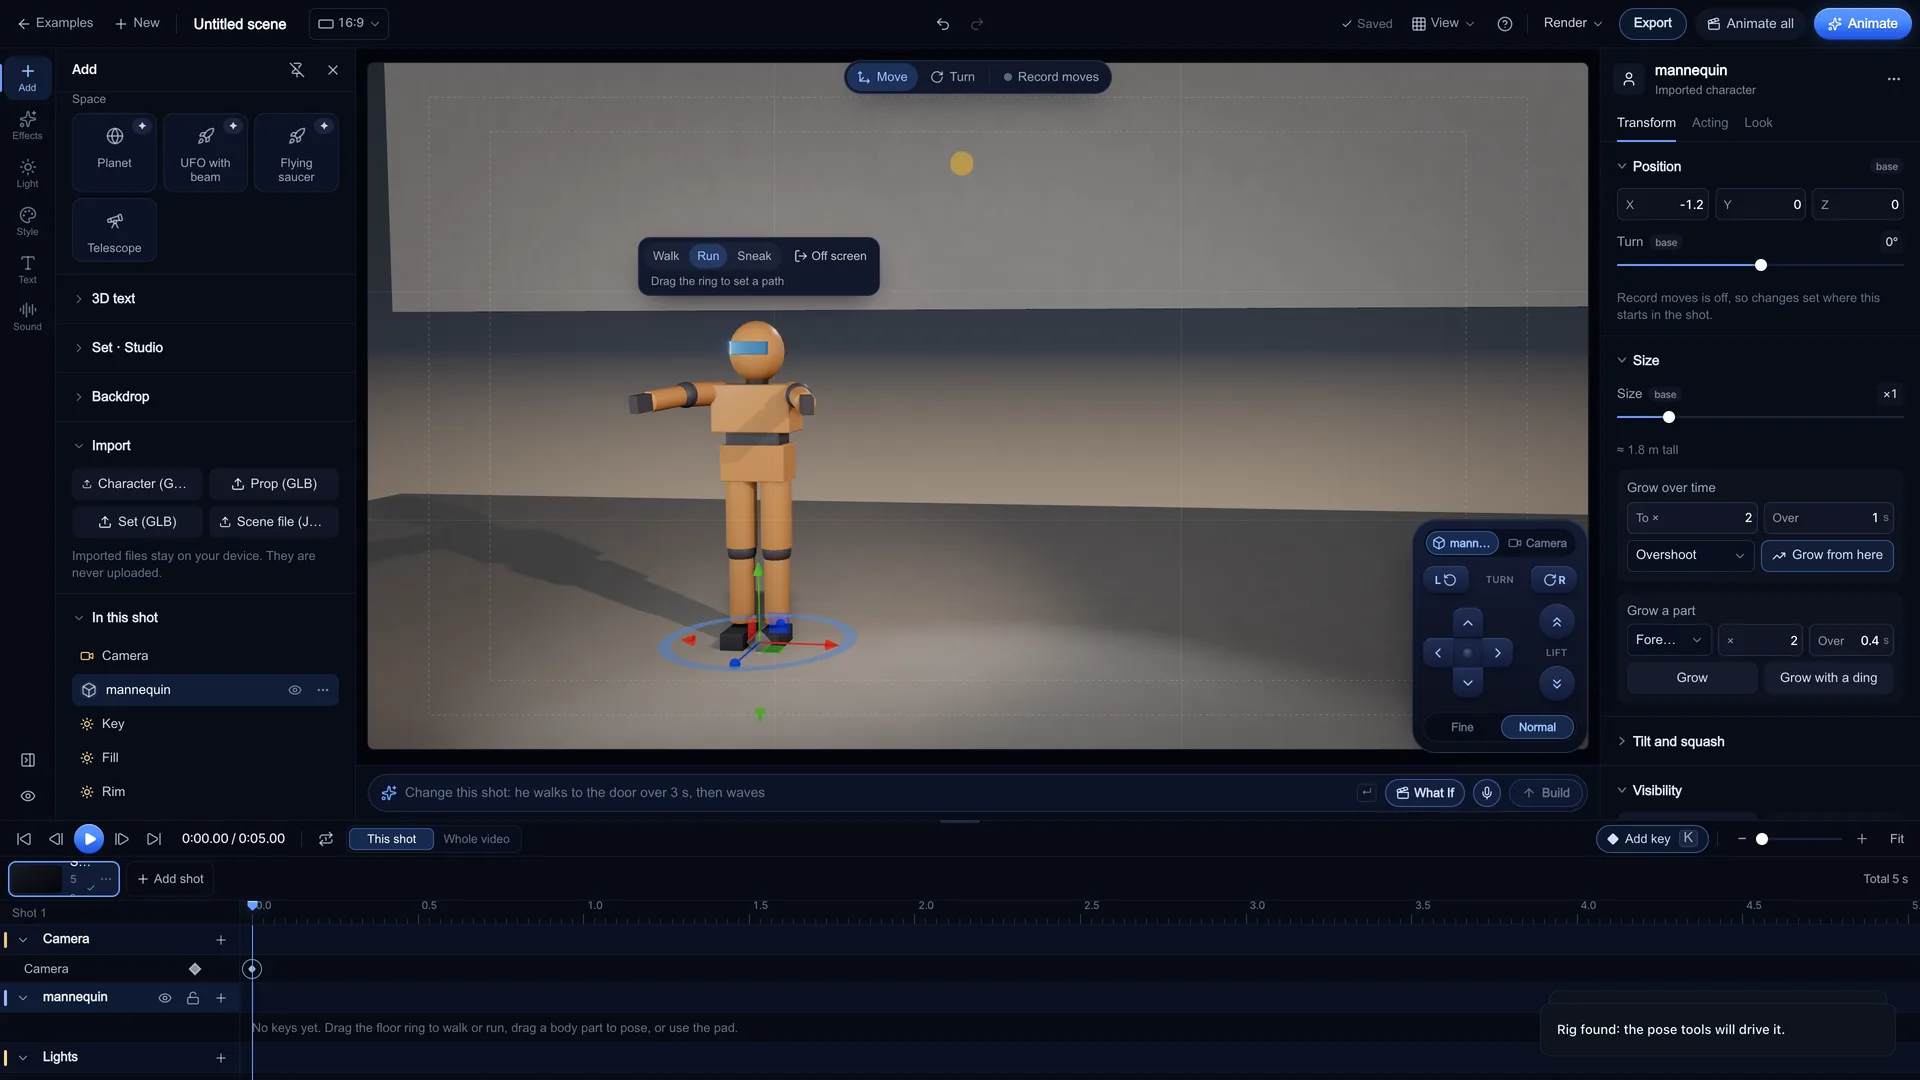
Bring in your Blender model, if you have one
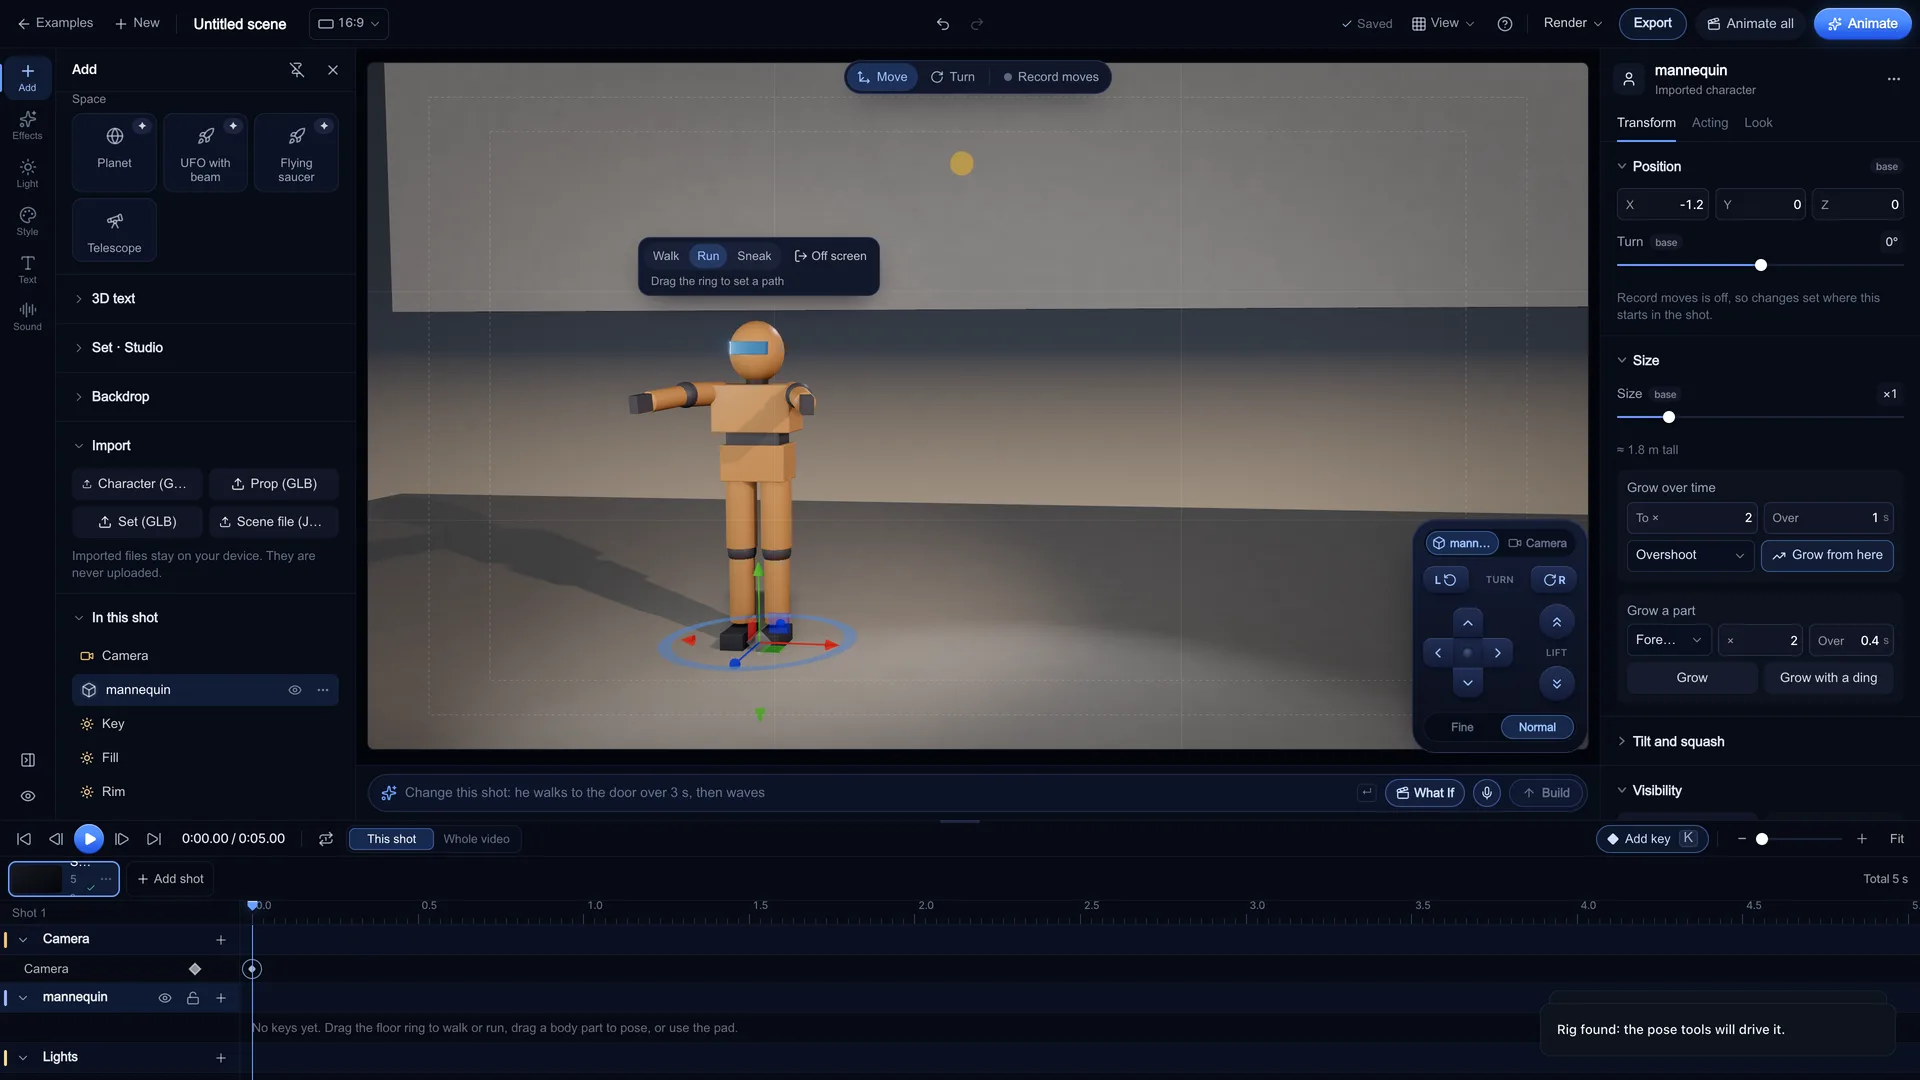
In Blender, use File > Export > glTF 2.0 and choose glTF Binary (.glb). In Stage, open the Add tab, expand Import and pick Character (GLB, VRM), Prop (GLB) or Set (GLB). Files up to 50 MB load in your browser and are never uploaded. If the model has a humanoid rig, Stage says "Rig found: the pose tools will drive it."
Screenshot of kreatorflow.ai, 2026-11-06 - 3
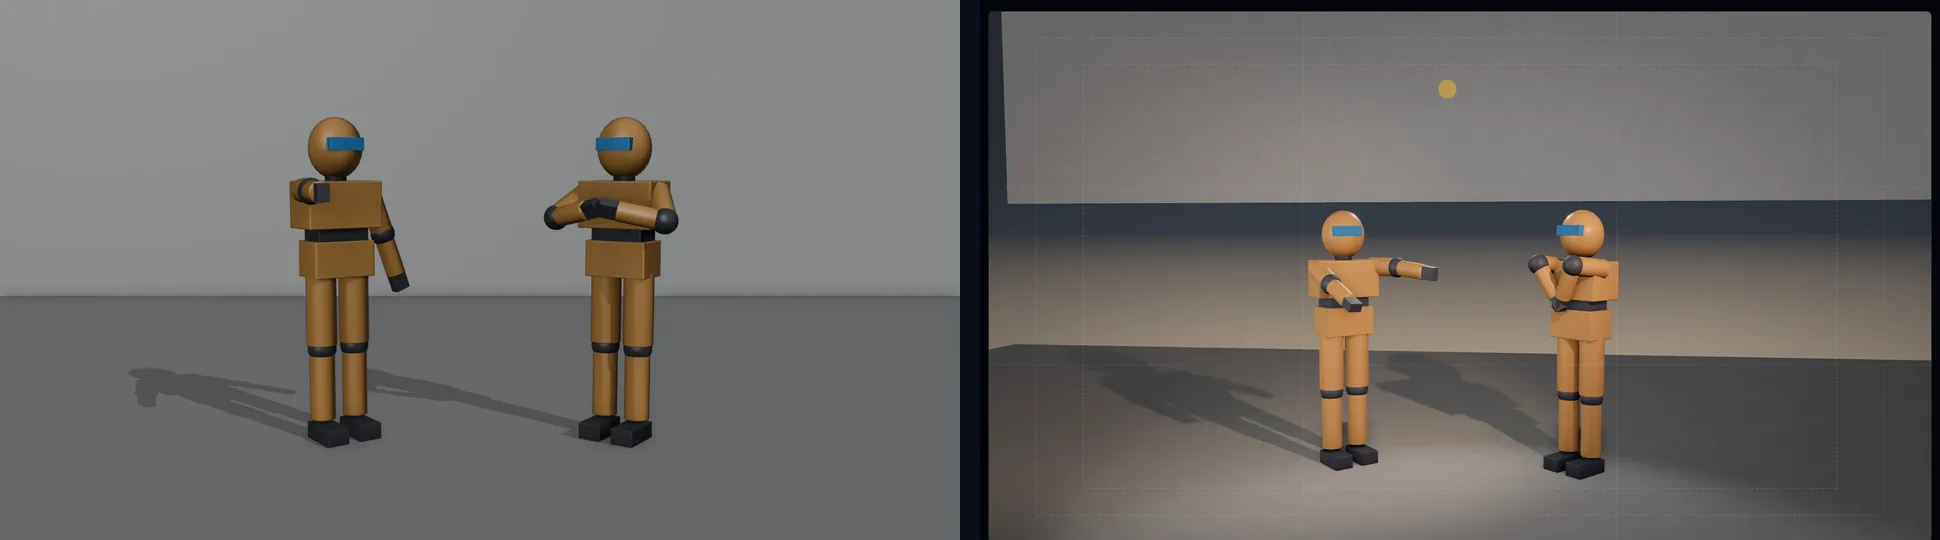
Block the action with marks and pose keys
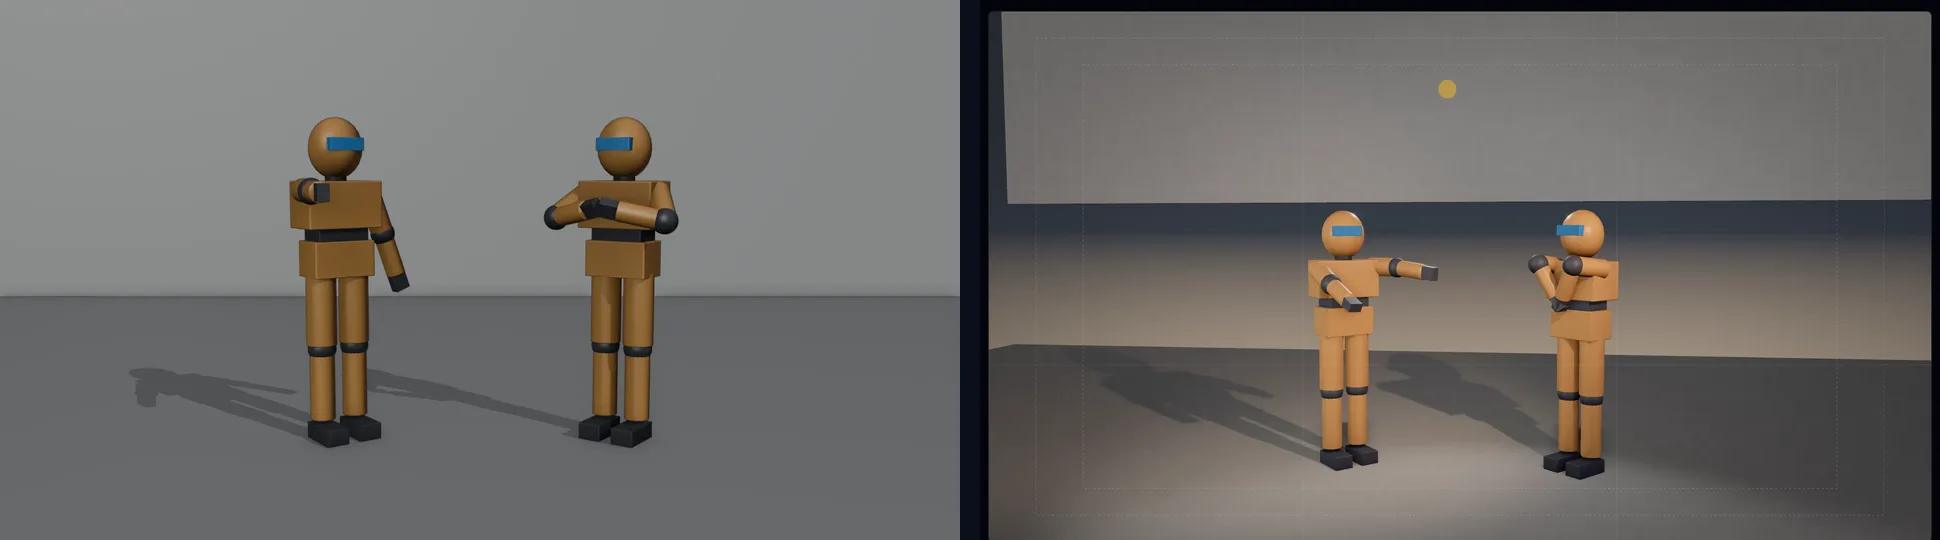
Select a character in the 3D view and move or turn it with the Move and Turn tools. Turn on Record moves and every change writes a keyframe at the playhead; press K to key the selected thing by hand. Keys sit on the timeline per actor, camera and light, and each one has its own easing.
Screenshot of kreatorflow.ai, 2026-11-06 - 4
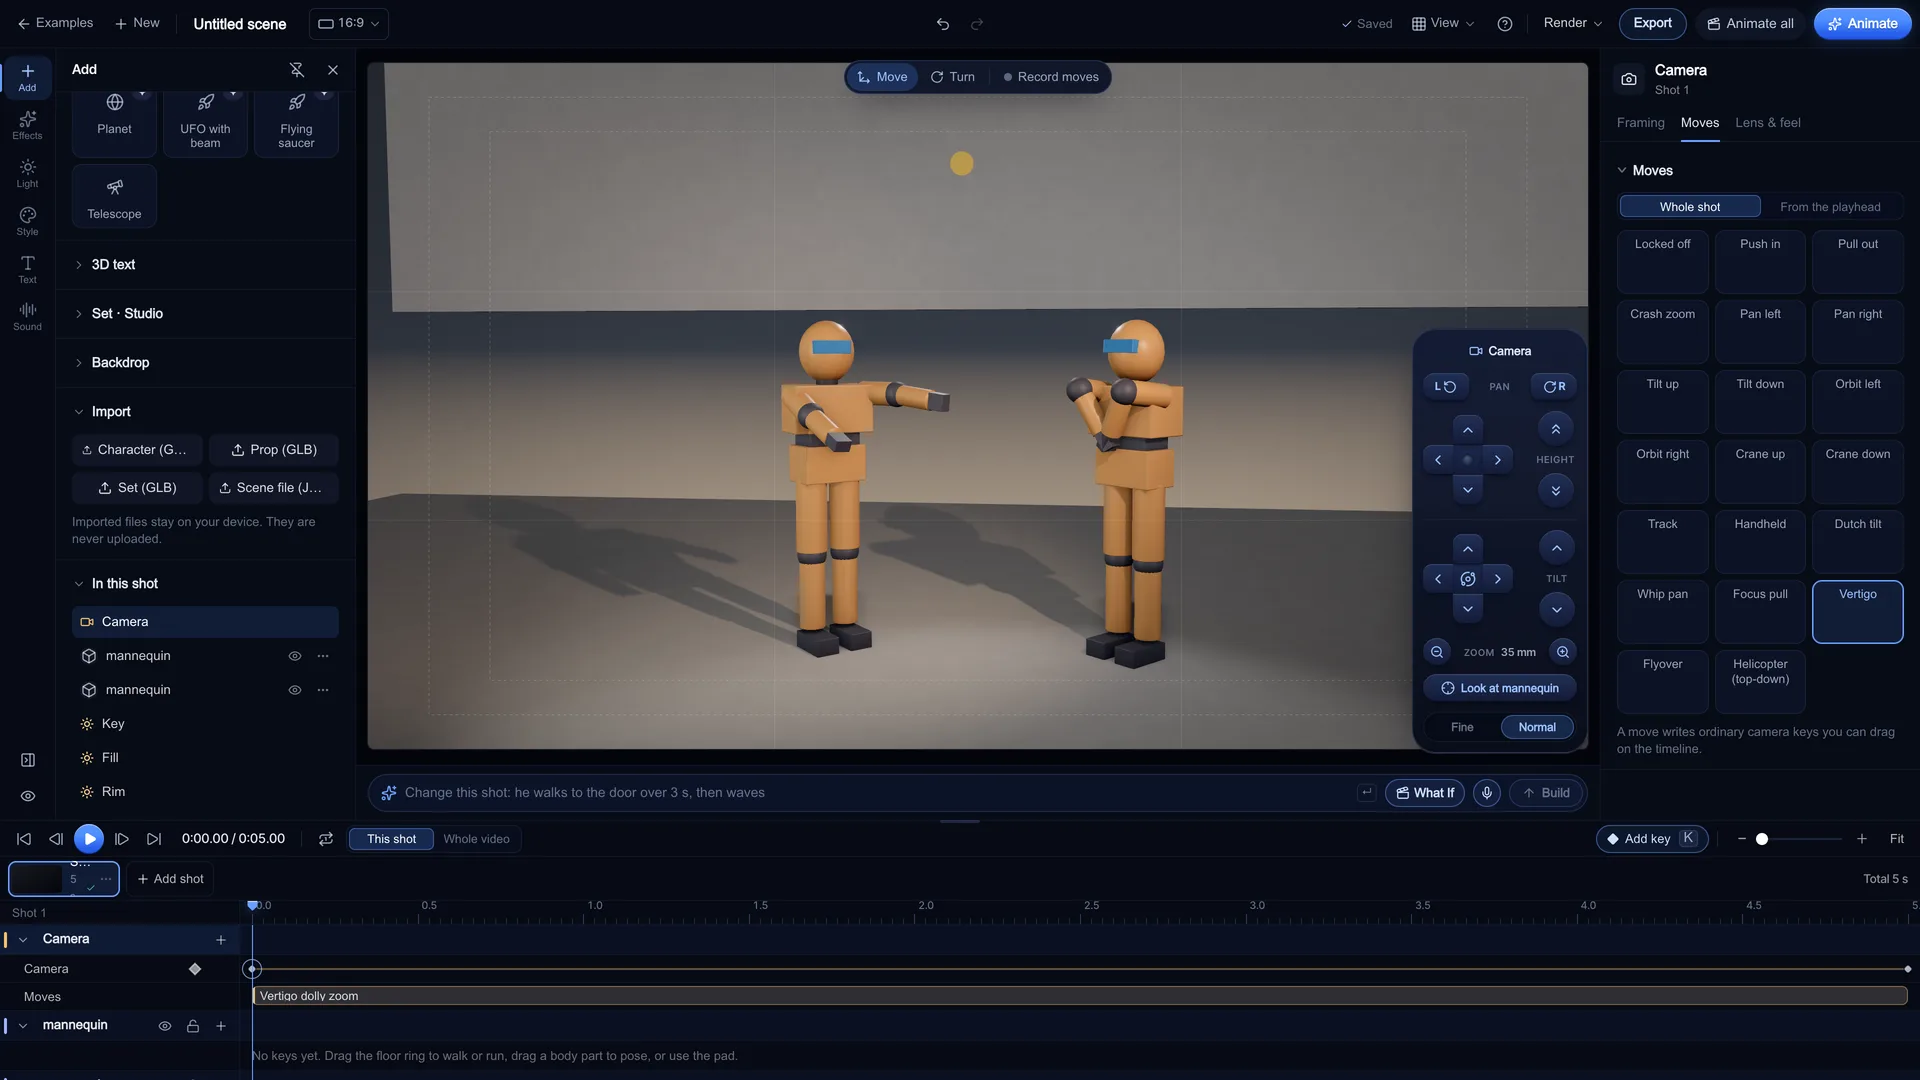
Write the camera move with one click
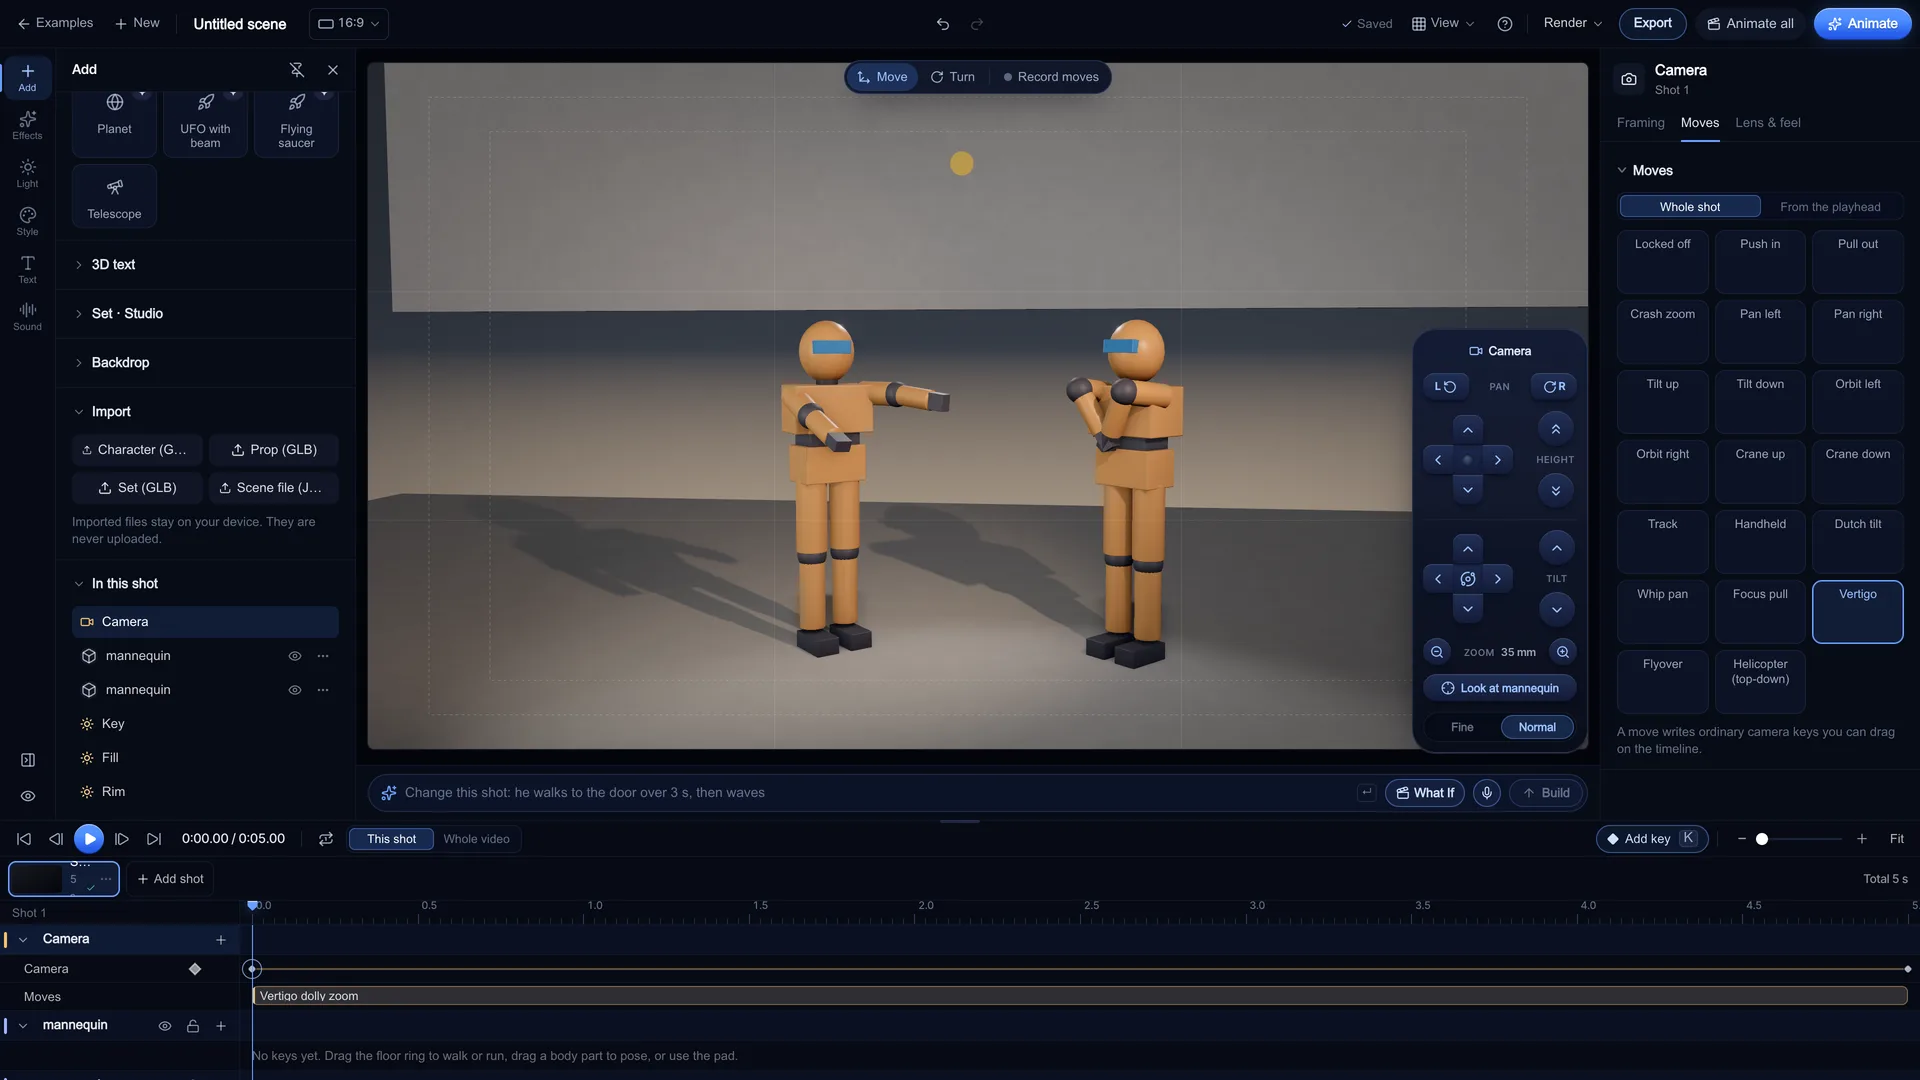
In the Camera section pick a framing (11 of them, from extreme wide to insert) and a lens (14, 24, 35, 50, 85 and 135 mm presets, or any value), then choose one of 21 camera moves, such as Push in, Orbit left, Crash zoom or Vertigo. Each move writes real camera keys over the whole shot that you can drag and edit.
Screenshot of kreatorflow.ai, 2026-11-06 - 5
Light it, then press Animate
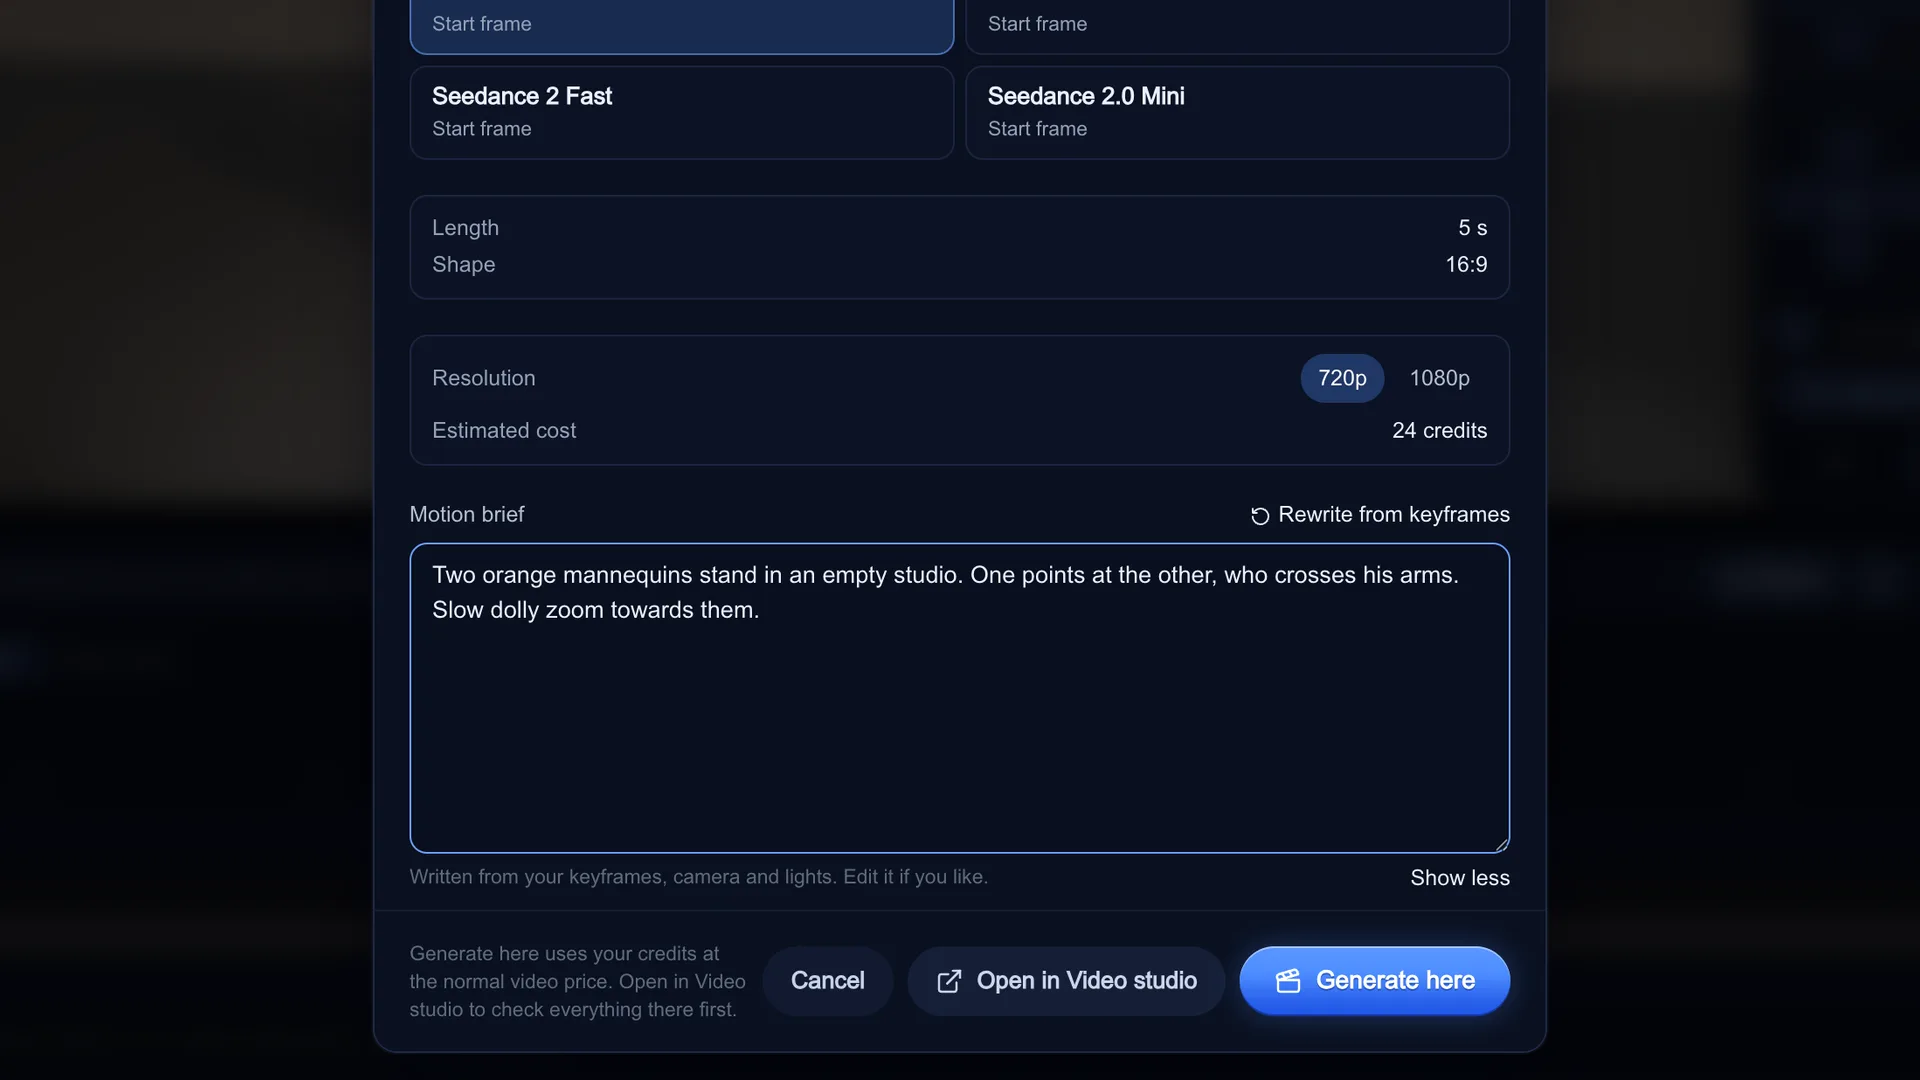
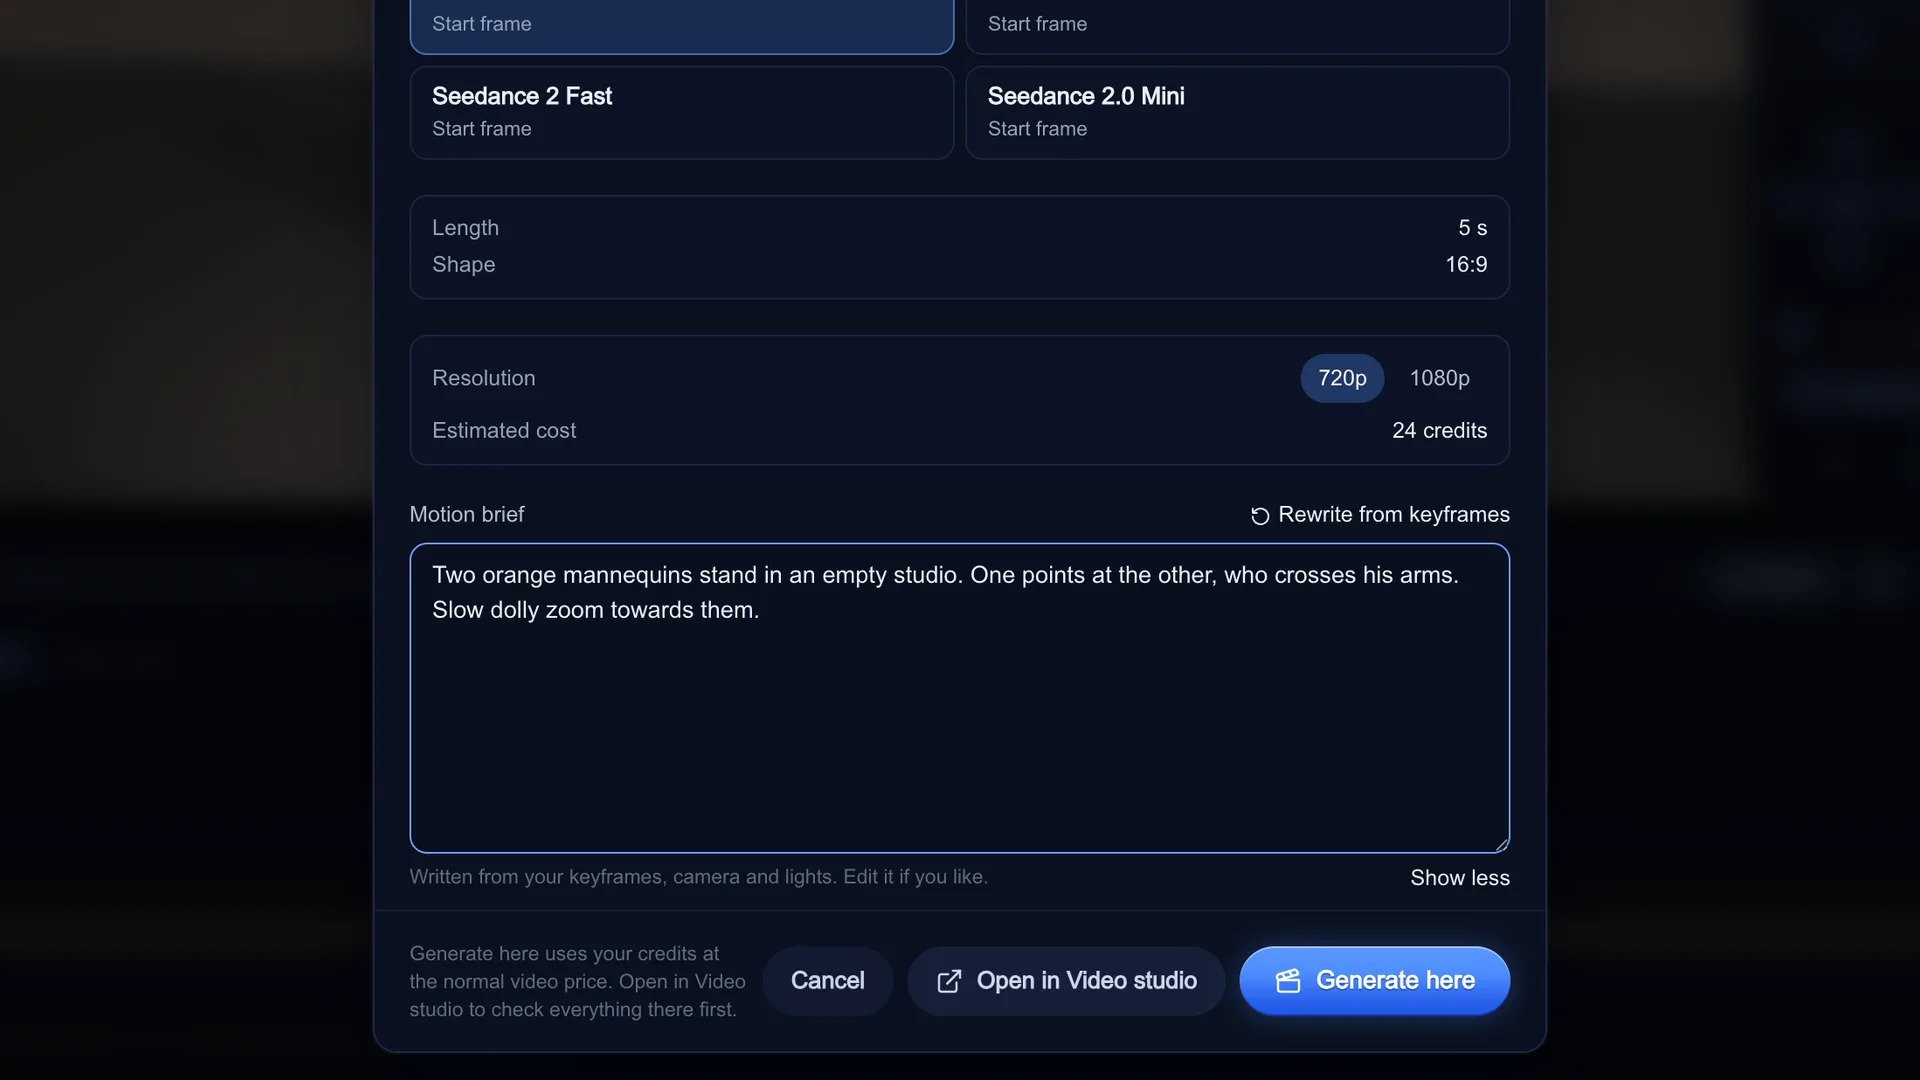
Open the Light tab and pick one of 11 lighting presets, or place your own lights. Then press Animate: Stage renders a clean start frame at the target shape, writes a motion brief from your keyframes, camera and lights, and lets you edit it. Choose Generate here or Open in Video studio. Credits are only spent after you see the estimated cost.
Screenshot of kreatorflow.ai, 2026-11-06
The Blender to AI video workflow people use
The workflow going round AI filmmaking guides (the two linked below, read on 6 Nov 2026) is simple: block the shot in Blender with rough shapes, animate the character and camera, render the first frame, then give that frame (and sometimes the blockout clip) to an AI video model such as Seedance as the start frame or a reference. The blockout is there for space and motion, not for looks.
It works because the model gets a fixed composition instead of guessing one from text. The cost is the setup: installing Blender, learning its viewport, building or finding rigged characters, and keying a camera before you see a single generated frame.
Stage vs Blender, side by side
Every Stage cell below is read from Stage's own code. The Blender cells come from blender.org and the Blender manual, read on 6 Nov 2026. Both are free; they are built for different jobs.
| Stage | Blender | |
|---|---|---|
| Install | None: opens in a desktop browser (WebGL on your own GPU) | Desktop app for Windows, macOS and Linux |
| Price | Free to plan; videos (Animate) and voice lines spend credits after you confirm | Free and open source (GPL) |
| Starting point | 14 example scenes with sets, cast, lights and camera keys | A default scene, a few starter files or your own projects |
| Characters | Built-in parametric cast with poses, hands and expressions; your own GLB or VRM | Model, sculpt and rig anything |
| Camera | 11 framings, lens presets, 21 one-click moves that write editable keys | Full camera and keyframe control, set up by hand |
| Lighting | 11 presets, placeable lights, HDRIs, time of day, fog | Full lighting with path-traced rendering in Cycles |
| Physics and simulation | None | Rigid body, cloth, fluids and more |
| Look | 8 style presets plus a style editor; an opt-in HQ preview on your GPU | Any look, up to final film renders |
| Imports | GLB, glTF and VRM (up to 50 MB, kept in your browser) | Its own projects plus glTF, USD, Alembic and other common formats |
| Exports | Previs video (MP4 or WebM), start and end frame PNGs, Stage scene file | Renders, video and every common 3D format |
| AI video hand-off | Animate: start frame and motion brief to Seedance | Manual: render a frame, upload it, write the prompt |
| Phones | Viewer only; editing needs a desktop-size window | Desktop only |
Sources, as checked:
- About Blender (blender.org): free and open source under the GPL: blender.org/about/
- Blender features (blender.org): modelling, rigging, simulation, Cycles, pipeline formats: blender.org/features/
- Blender manual: glTF 2.0 import and export: docs.blender.org/manual/en/latest/addons/scene_gltf2.html
When Blender is the better choice
Use Blender, not Stage, when the shot depends on something Stage does not do:
- You need a custom character, creature or product model built or sculpted from scratch
- The action needs a proper rig, hand-keyed animation or motion capture cleanup
- Physics matters: cloth, liquid, smoke, destruction or rigid bodies
- You want a finished render as the final shot, not just a start frame
- The scene has to go on to another 3D app, a game engine or a VFX pipeline
- You already know Blender well and the shot is easier to build than to find
When Stage is the faster route
Use Stage when the AI video model will make the final pixels and you only need to control the shot:
- You want to plan a shot today without installing or learning a 3D suite
- Rough characters, sets and lights are enough, because the video model renders the look
- You want named camera moves (push-in, orbit, crash zoom, dolly zoom) as editable keys
- You are planning many short shots, such as a sketch, an ad or a What If short, and want them in one timeline
- You want the start frame and the motion brief sent to Seedance without exporting and uploading by hand
Using both: Blender models in a Stage plan
You don't have to pick one. Build or fix the hero model in Blender, then plan the shots in Stage:
- In Blender, select the model and use File > Export > glTF 2.0
- Choose glTF Binary (.glb), so the mesh, materials and textures travel in one file
- Keep it under 50 MB: decimate heavy meshes and shrink large textures
- In Stage, open the Add tab, expand Import and choose Character, Prop or Set
- Humanoid rigs are mapped to Stage's pose tools; VRM expressions map to Stage's expressions
- Imported files stay on your device and are never uploaded
What the AI video step costs
Planning in Stage is free and works signed out. Animate and optional KreatorFlow voice lines are the only paid steps. Animate uses the normal Video studio prices for Seedance 2.5, Seedance 2.0, Seedance 2 Fast and Seedance 2.0 Mini, shows the estimated credits first, and charges nothing until you press Generate here, confirm Animate all, or press Generate in the Video studio. A 5-second 720p Seedance 2.0 clip costs 15 credits.
KreatorFlow is an official partner of BytePlus, a ByteDance company.
Credits at the model's default sound setting, as the Animate dialog estimates them.
| Model | Frames it uses | 5 s at 720p | 10 s at 720p | 5 s at 1080p |
|---|---|---|---|---|
| Seedance 2.5 | Start frame | 24 credits | 47 credits | 50 credits |
| Seedance 2.0 | Start frame | 15 credits | 30 credits | 30 credits |
| Seedance 2 Fast | Start frame | 12 credits | 24 credits | 20 credits |
| Seedance 2.0 Mini | Start frame | 9 credits | 17 credits | 17 credits |
Questions other guides skip
Can Stage open my Blender project?
No. Stage does not open .blend files and does not import FBX, OBJ, USD or Alembic either. It reads glTF (.glb or .gltf) and VRM models. Blender's built-in glTF 2.0 exporter is the bridge: export as glTF Binary (.glb), which packs the mesh, materials and textures into one file.
Source: Blender manual: glTF 2.0
Can I send my Stage scene back to Blender?
No. Stage does not export .blend, FBX, glTF or camera data for other 3D apps. It exports a previs video (all shots or one shot, with overlays and sound), clean start and end frame PNGs of every shot, a PNG of the playhead frame, and a Scene file (JSON) that only Stage opens. If your plan has to end up in Blender, do the blocking in Blender.
Why does the Blender to AI video workflow render a first frame?
Because the video model only sees pictures and text, not your 3D scene. The blockout fixes the composition, the poses and the camera, and the rendered frame carries that to the model as the start frame or a reference. Stage does the same thing: Animate renders the start frame for you and writes the camera and action into the motion brief.
Does the start frame stay exact?
On Seedance, a Stage hand-off is sent with the start frame as the first frame, not as a loose reference. Seedance uses the start frame only, so plan the opening composition carefully and describe where the shot ends in the brief.
Frequently asked questions
Is Stage a Blender alternative?
For planning shots before an AI video model, yes: you can block characters, light the set, key the camera and send the shot to the model without leaving the browser. For modelling, sculpting, rigging, simulation or final renders, no. Blender does far more; Stage only covers the planning step.
Do I need Blender to make AI video previs?
No. Blender is one way to block a shot, but any tool that fixes the composition and camera works. Stage does it in the browser from example scenes and writes the start frame and motion brief for you.
Is Stage free?
Planning in Stage is free and works without an account. Generating the videos costs credits at the normal Video studio price, and Stage always shows the estimate before anything is charged.
Can I import Blender models into Stage?
Yes, as glTF. Export from Blender with File > Export > glTF 2.0, choose glTF Binary (.glb), and import it in Stage's Add tab as a character, prop or set. The limit is 50 MB per file and the file stays in your browser.
Which AI video models does Stage hand off to?
Right now: Seedance 2.5, Seedance 2.0, Seedance 2 Fast and Seedance 2.0 Mini. Pick the model in the Animate dialog; the clip length snaps to the lengths that model makes and the dialog tells you when it does.
Can I edit in Stage on a phone?
No. The editor needs a desktop-size window. On a phone you can watch the examples and send yourself a link to open on a computer.